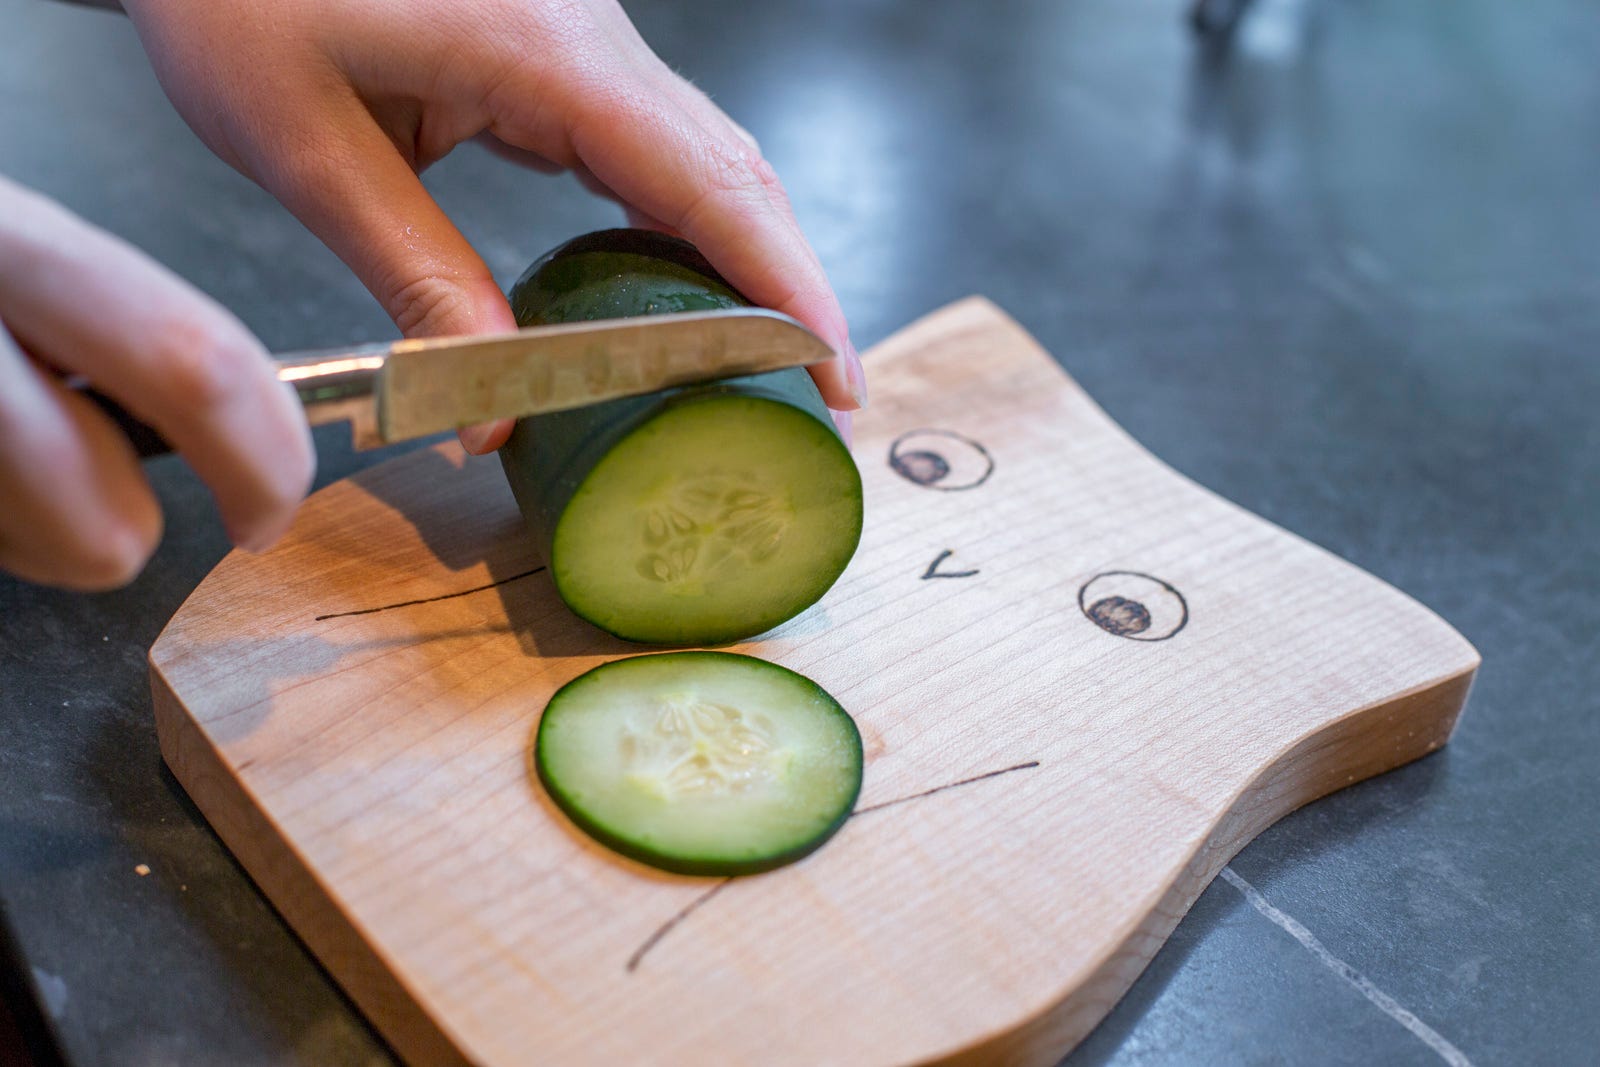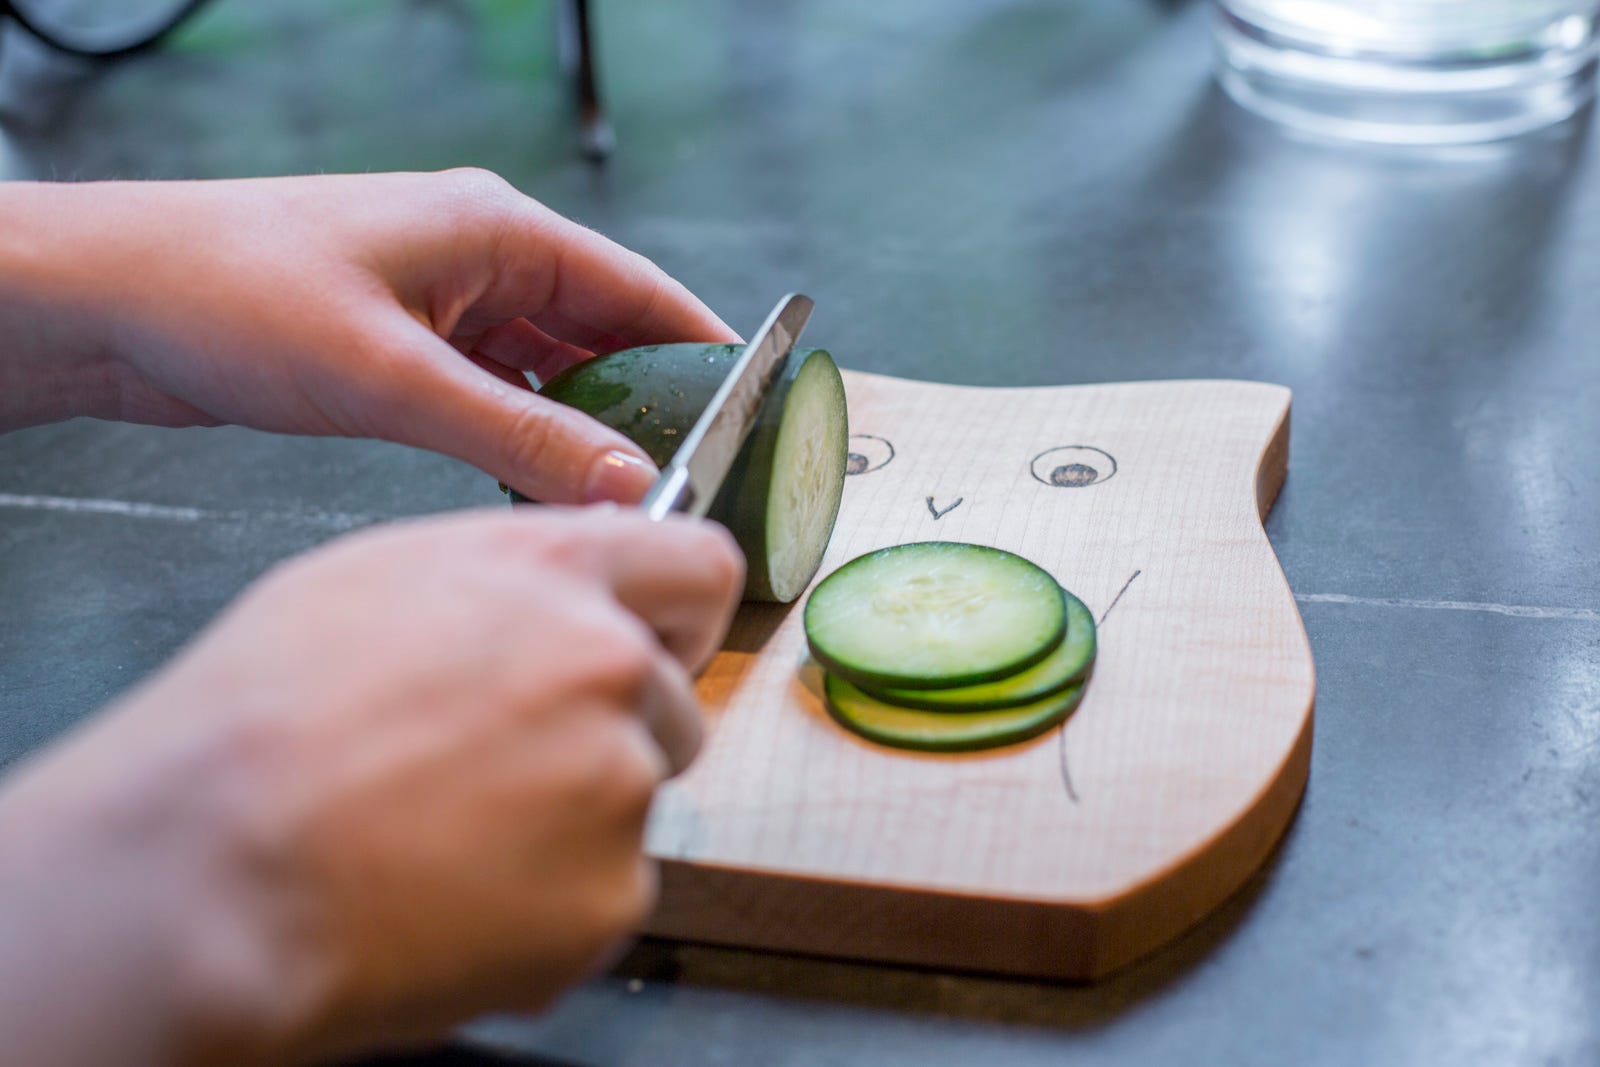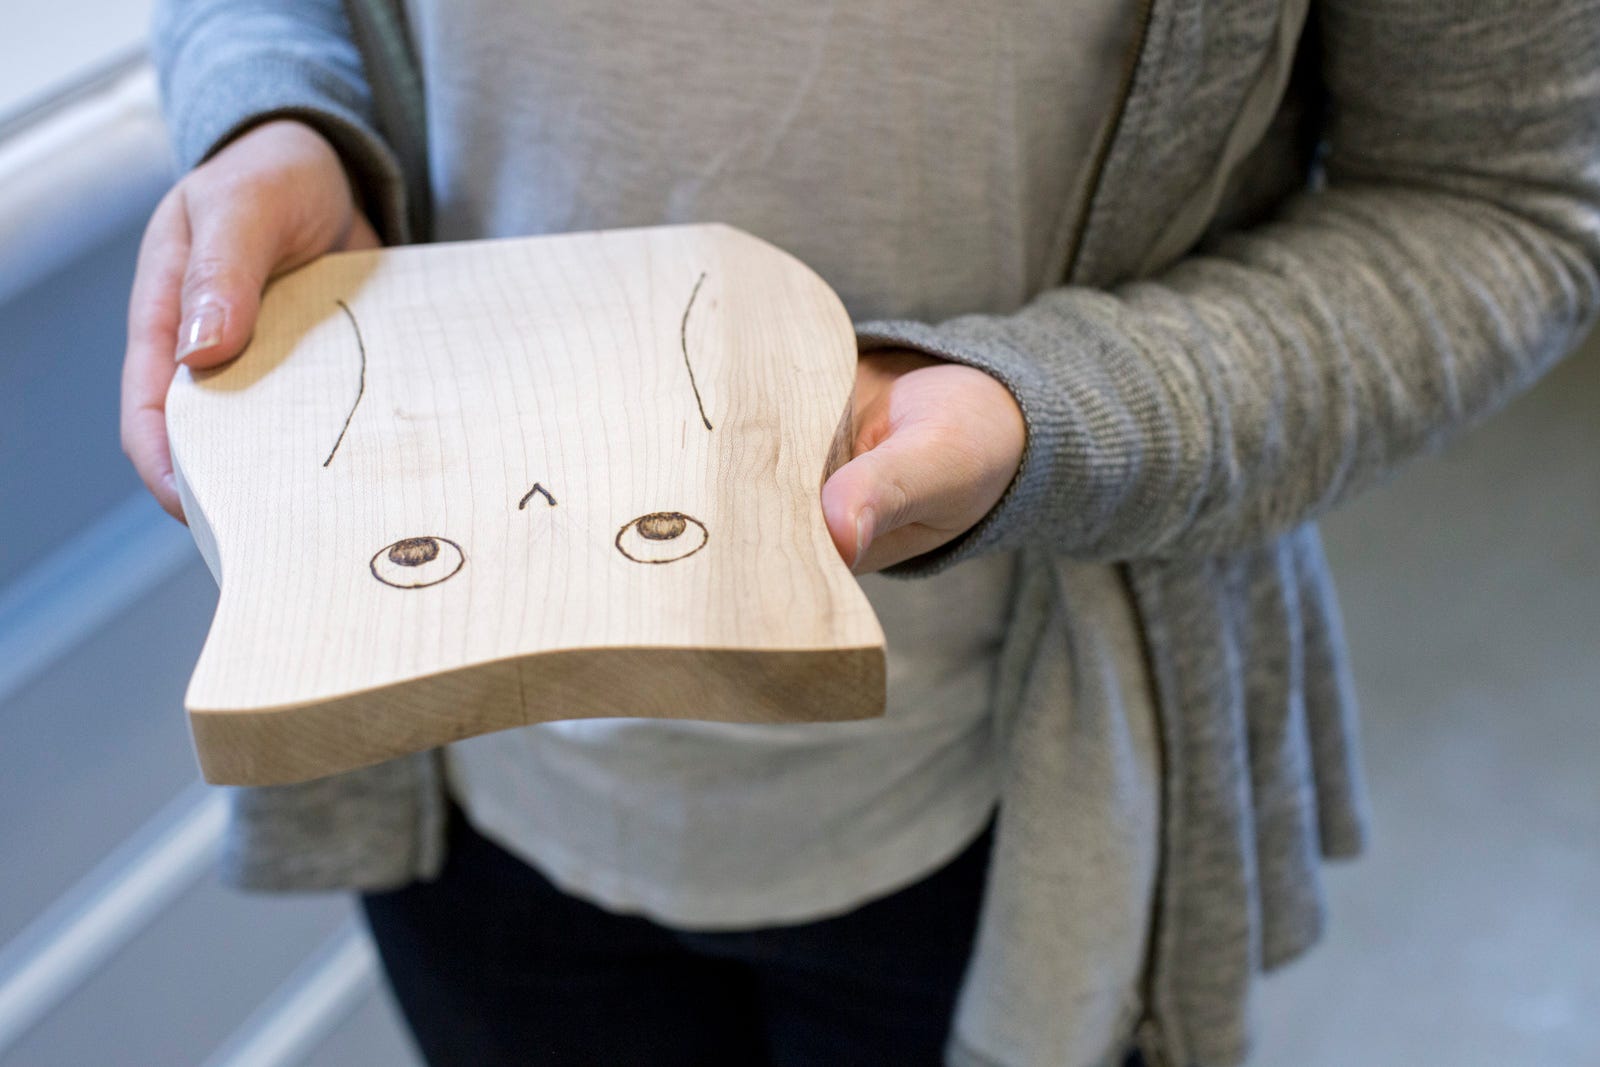
"You can never have too many cutting boards, right?"
Step 1
First pick out your wood. It’s important to choose a hardwood that will hold up against your kitchen knives. We recommend using oak, alder, maple, or walnut. You can also special order a laminated hardwood blank. For our project, we chose a 1" x 8" maple board.
The cutting board doesn’t take up a whole lot of wood, so if you have a scrap piece of hardwood lying around this project is an excellent way to use it up. Or, if you purchase a whole board, you'll have enough leftover wood from the first one that you can make several cutting boards and give them away as gifts!
Step 2
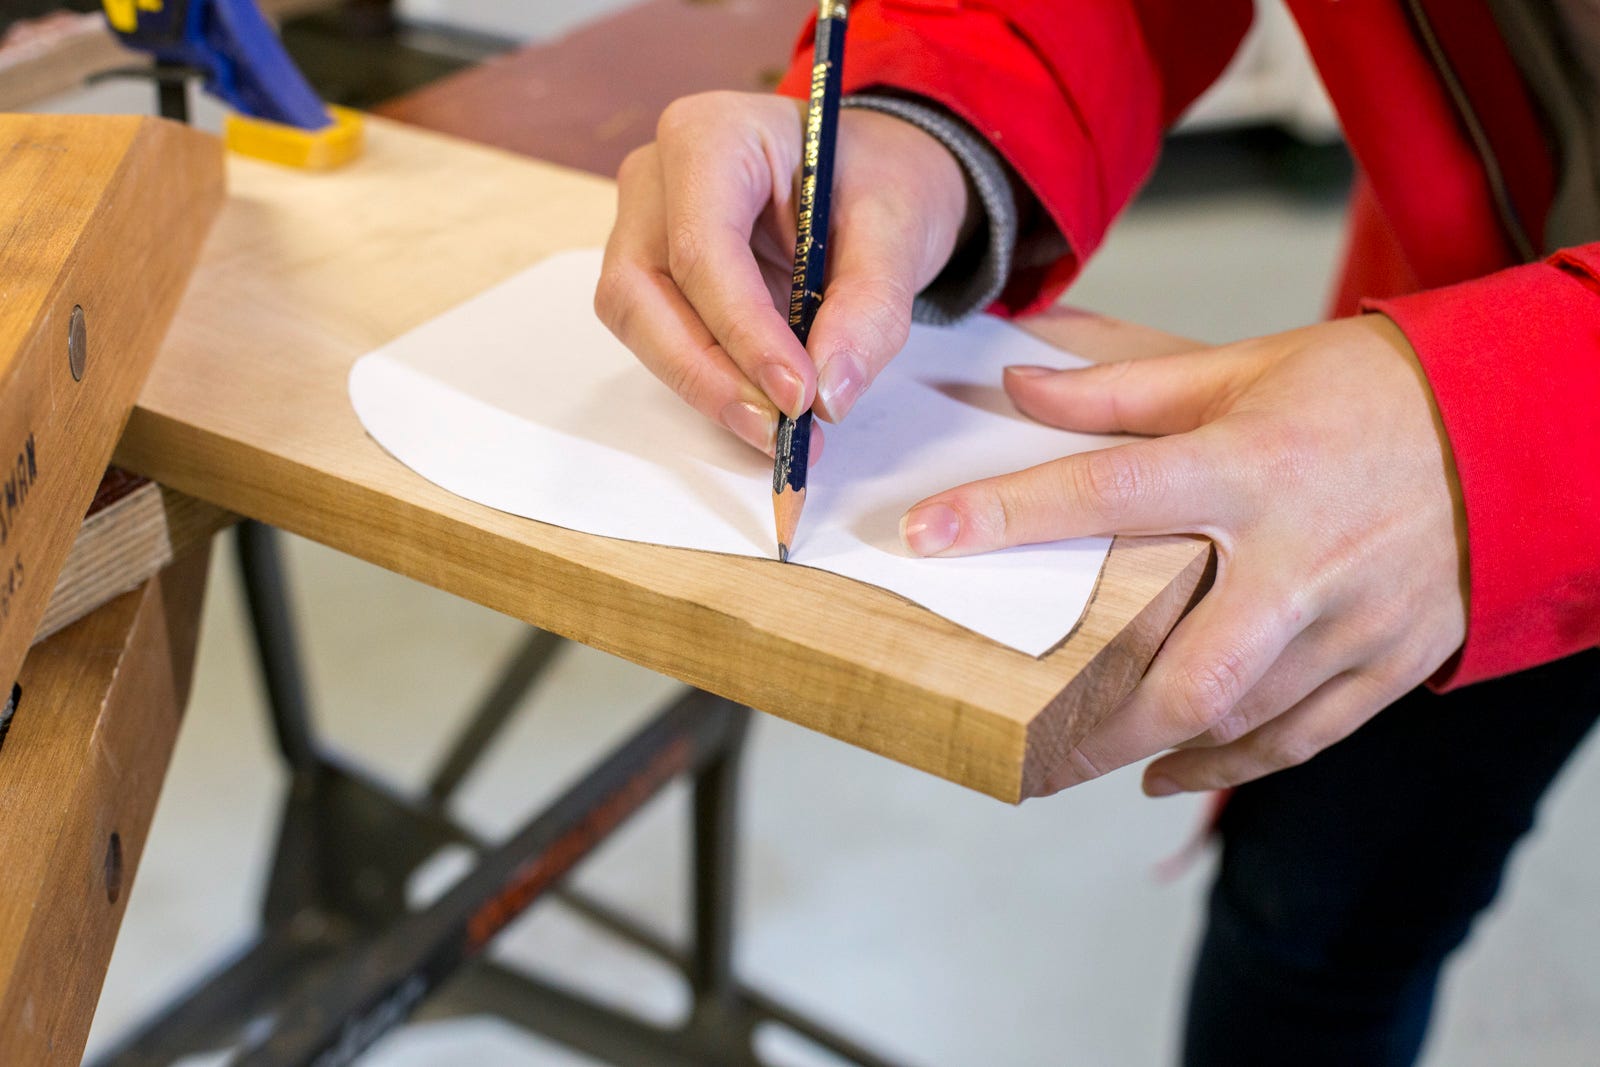
Trace the template onto your wood with a pencil. Here's a template we made that you can print up!
Step 3
Clamp the wood firmly to a worktable or bench with one side of the traced owl hanging over the edge. You’ll want to keep the cut as close the table as possible for stability, but make sure you don’t accidentally cut into it.
Following the pencil lines of the template, cut out your outline with a jigsaw. Turn and reclamp the board as you need to. Because we’re working with hardwood, the going may be slow, but take your time and don’t force it.
Step 4
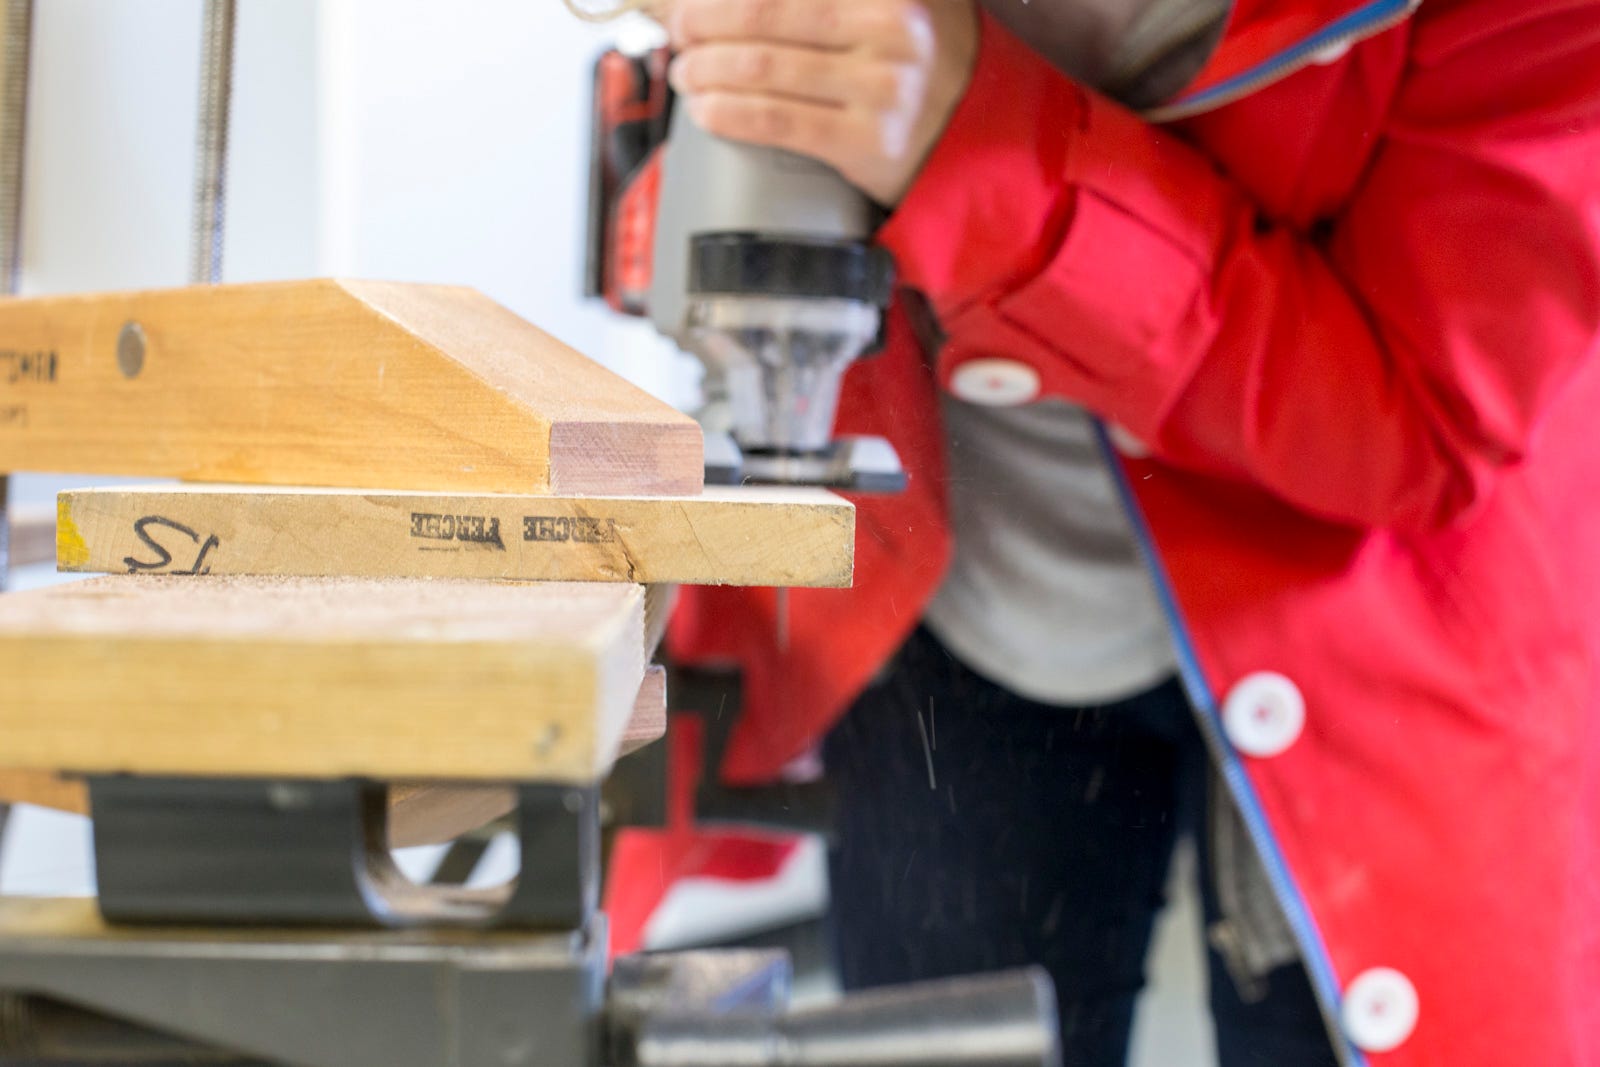
Grab a sander and smooth out those edges with 150-grit sandpaper. Then go over the whole board with 220-grit sandpaper to create that perfect, smooth finish. Clamp down your board to make the sanding easier. You can sand by hand. It will just take a little longer and may not yield as smooth a result.

Step 5
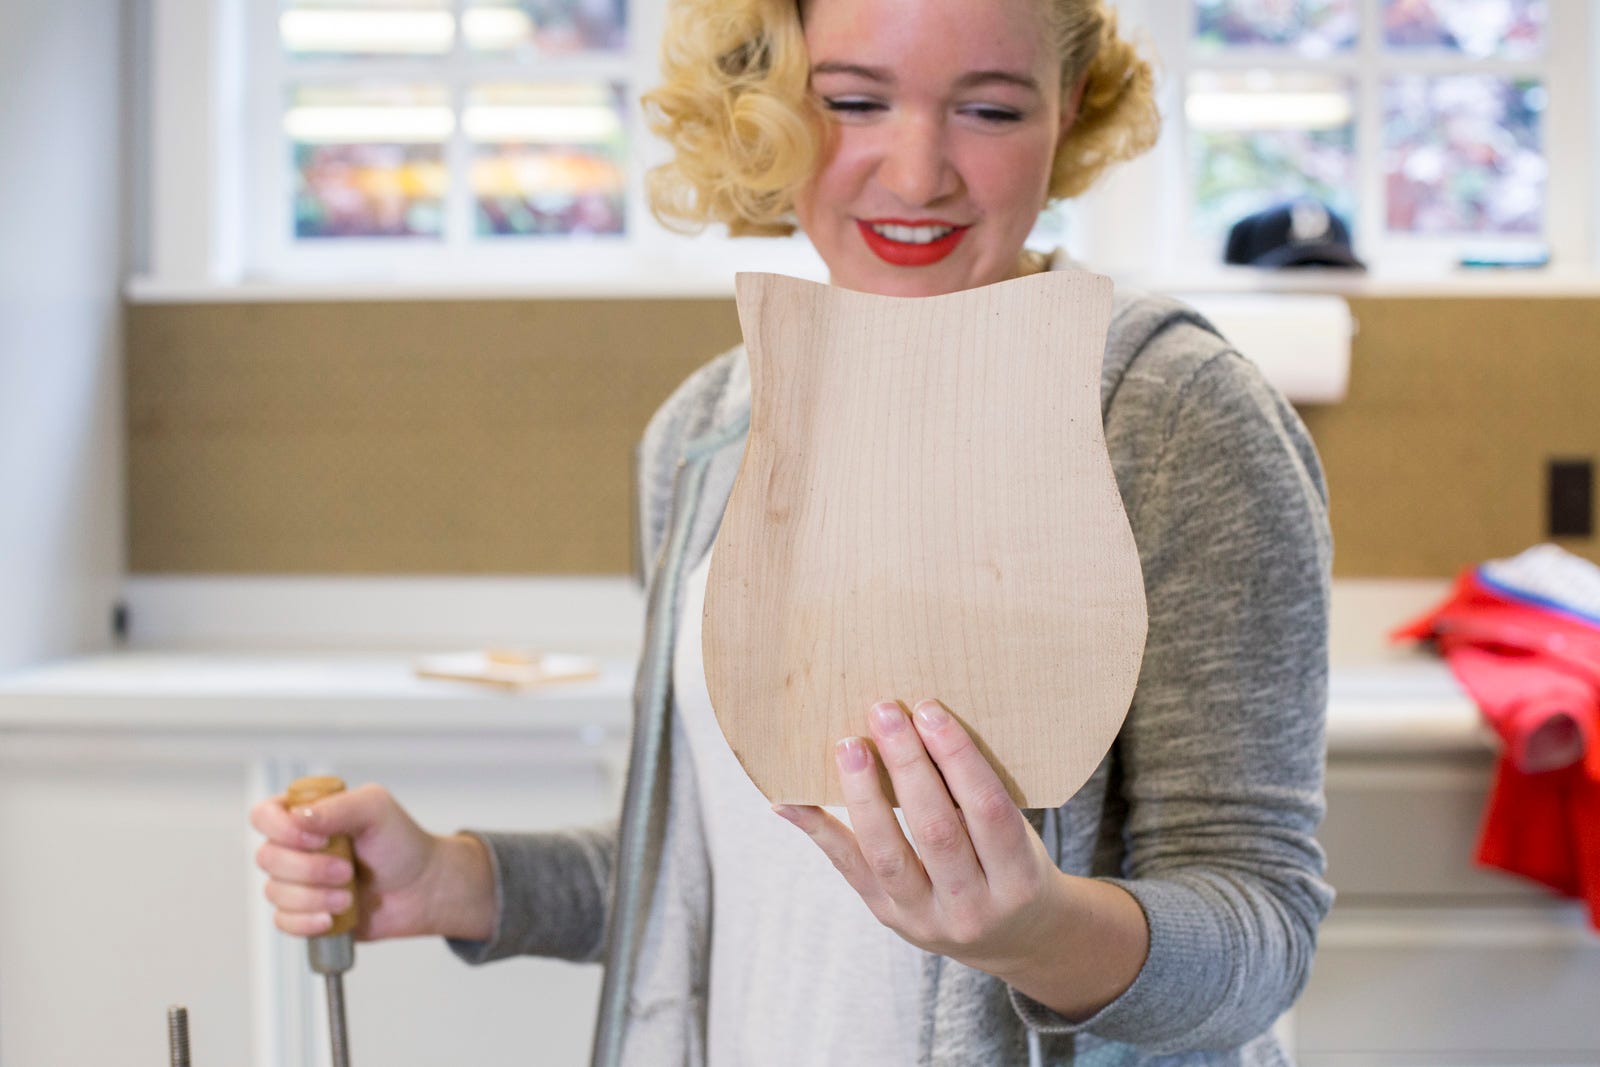
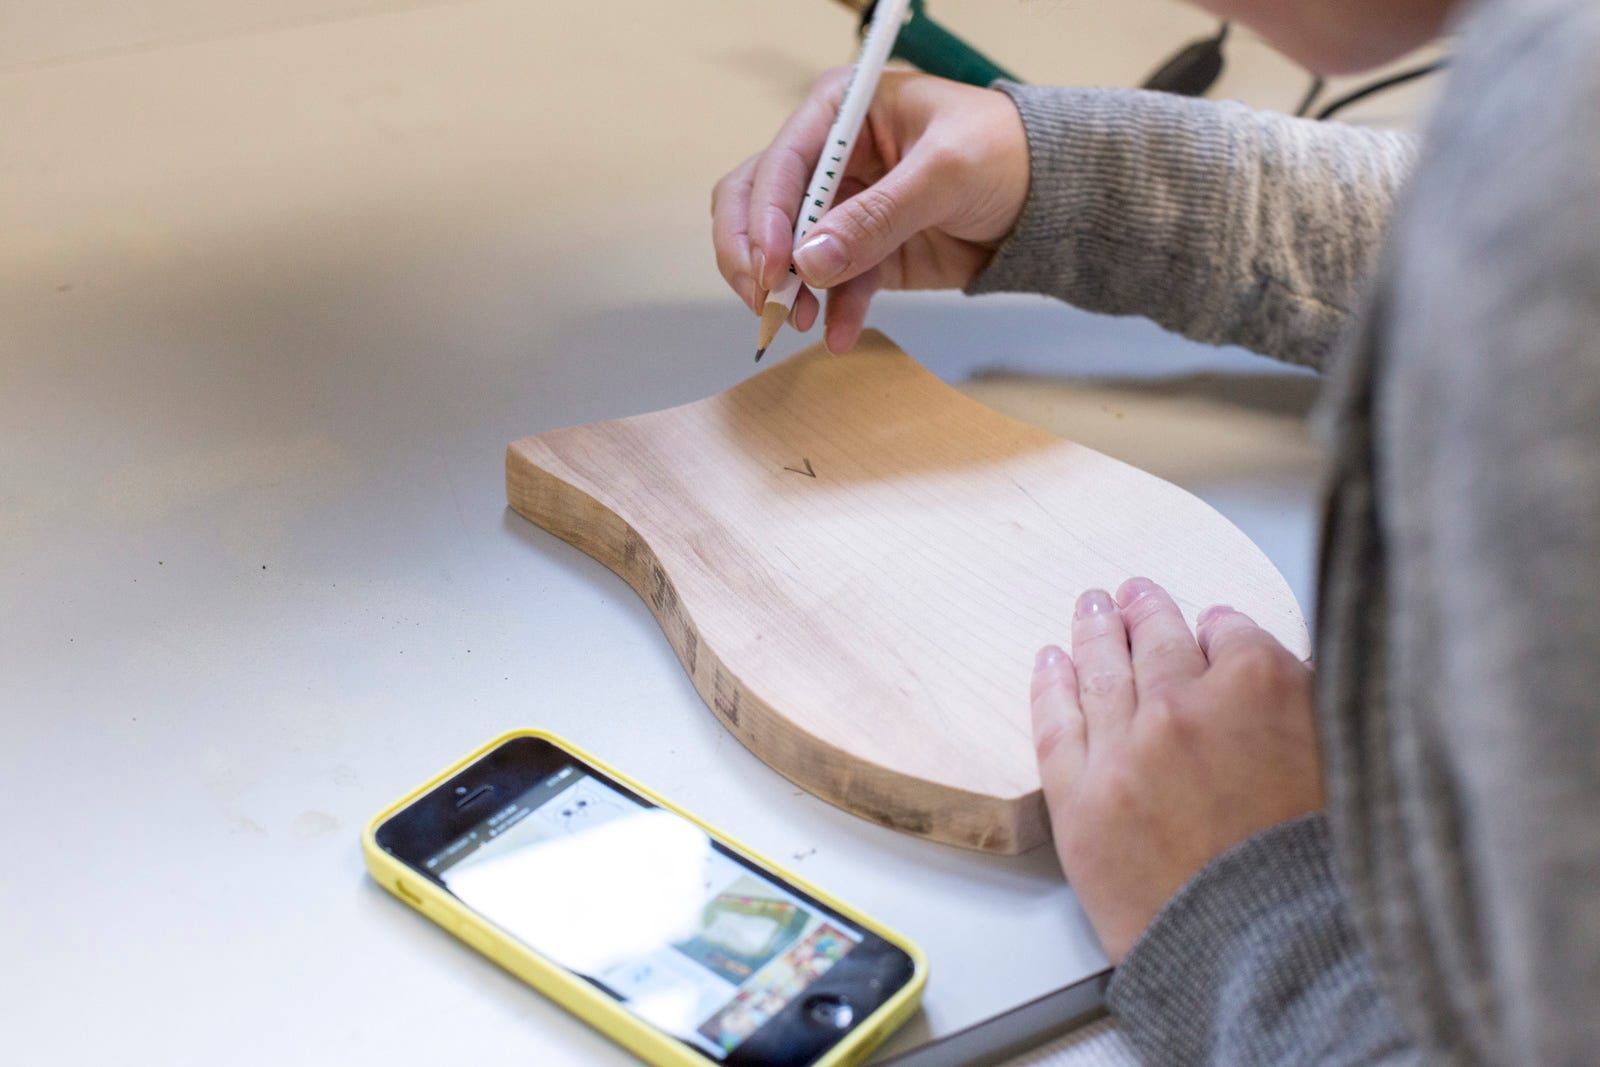
Once you've sanded everything, draw out the owl design in pencil. You can follow our template, or go at it freehand!
Step 6
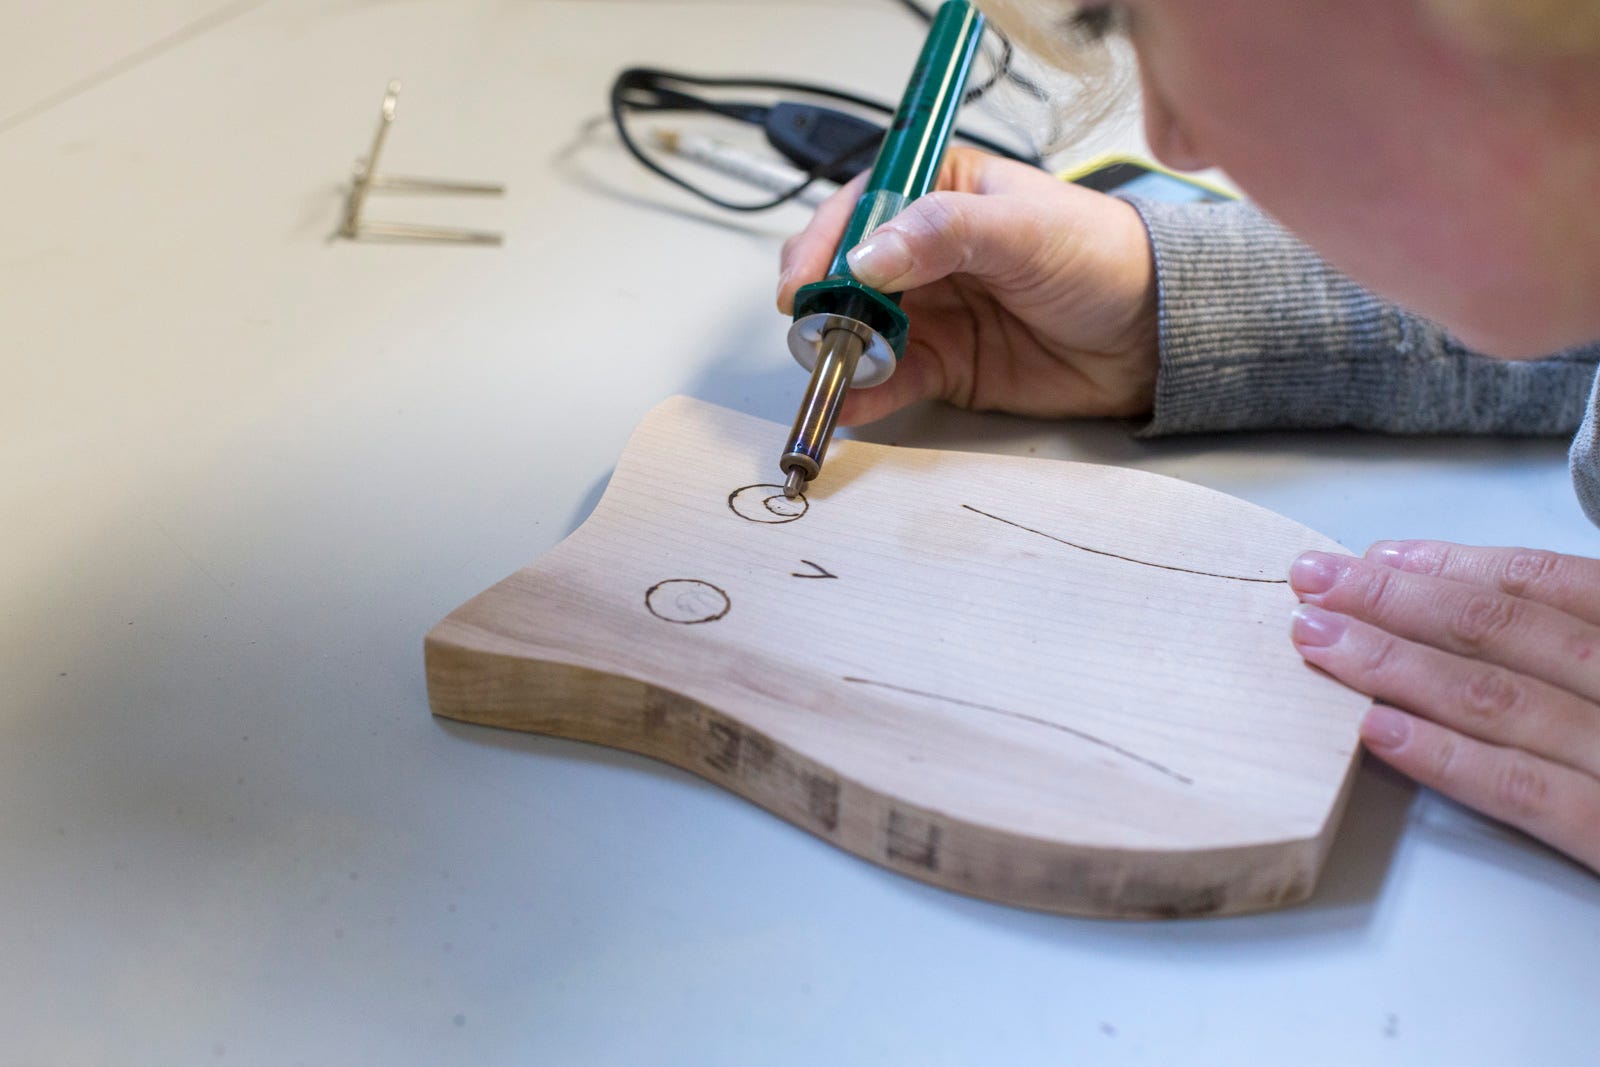
Go over the pencil lines with the wood burner. If you’ve never used a wood burner before, go ahead and test it out on one of the scrap pieces you’ve just cut. (It takes a little getting used to.) Wood burners have interchangeable tips for different effects, so pick out the tip that you feel most comfortable with, and that works well for the lines; we used a rounded tip.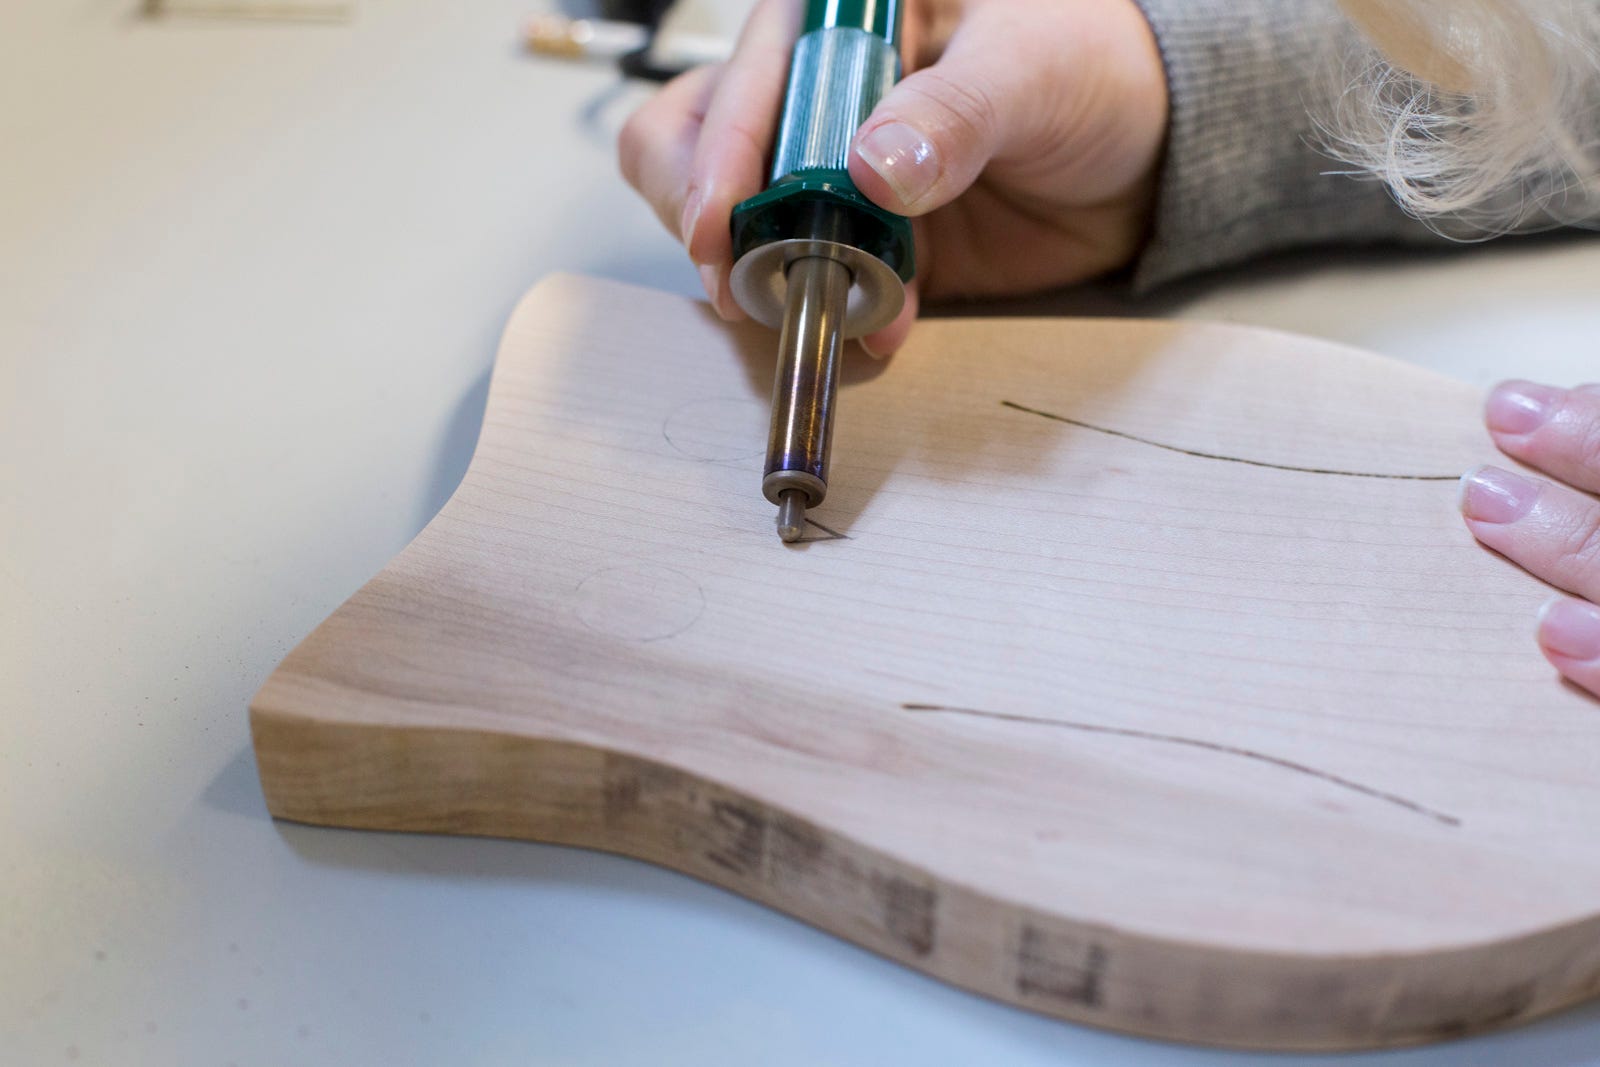

Step 7
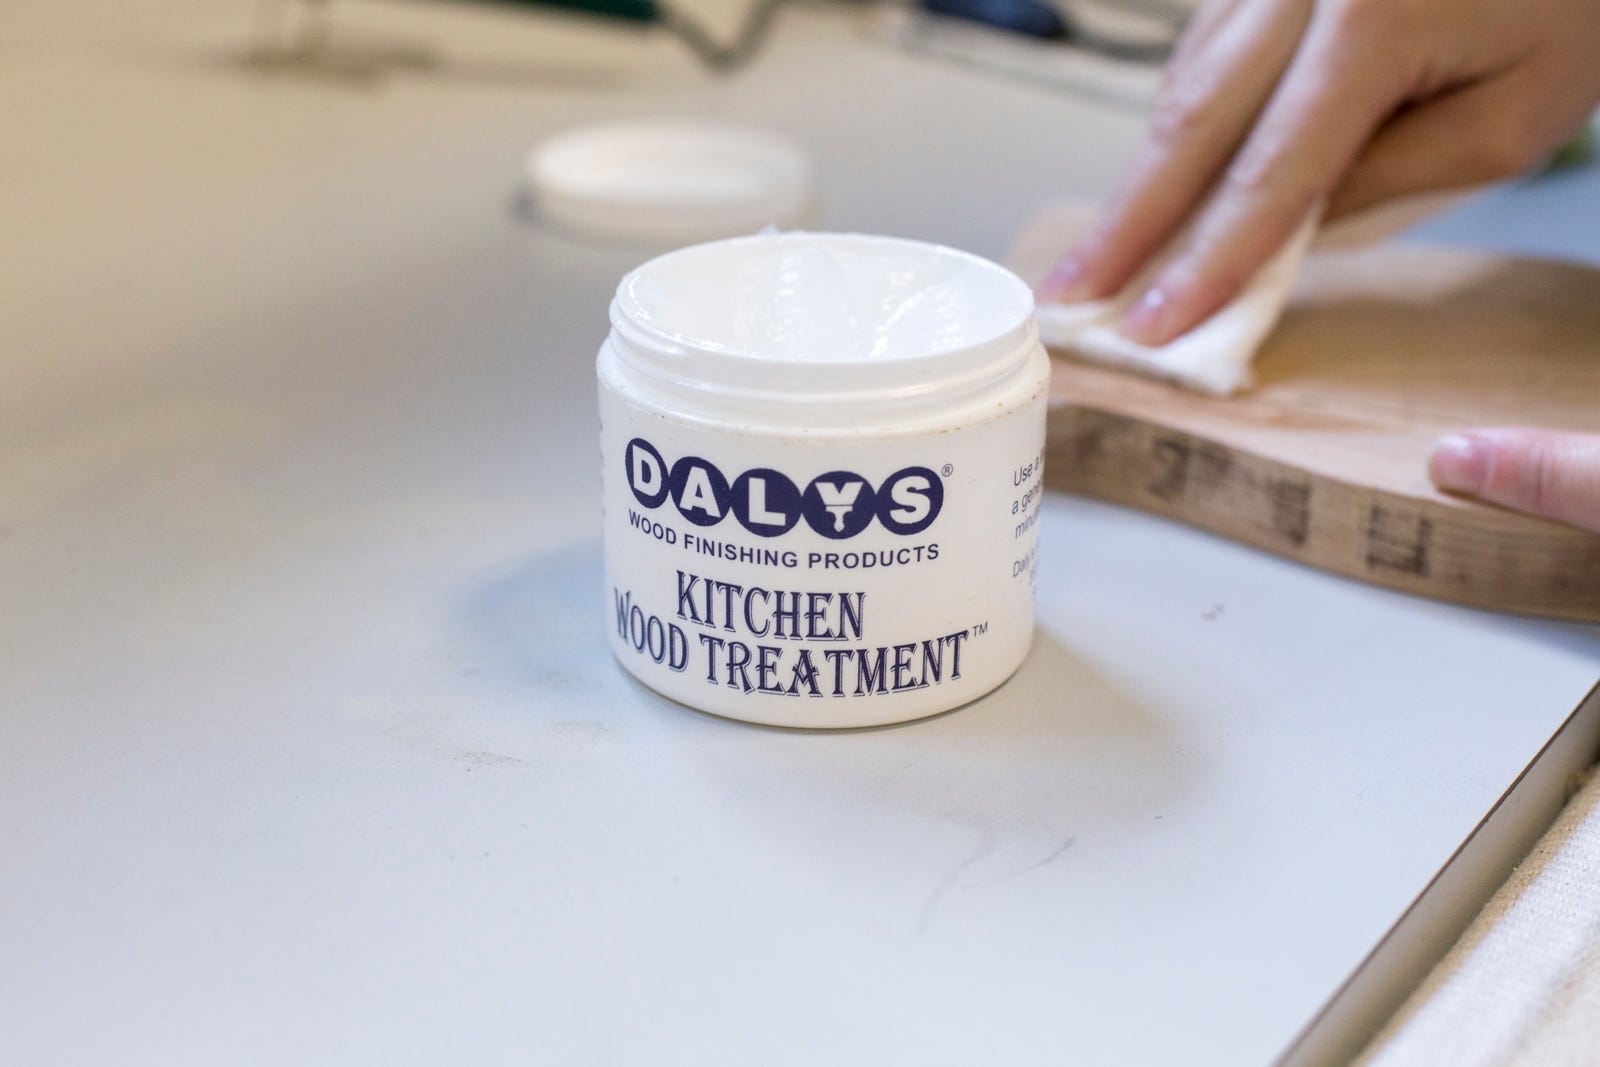
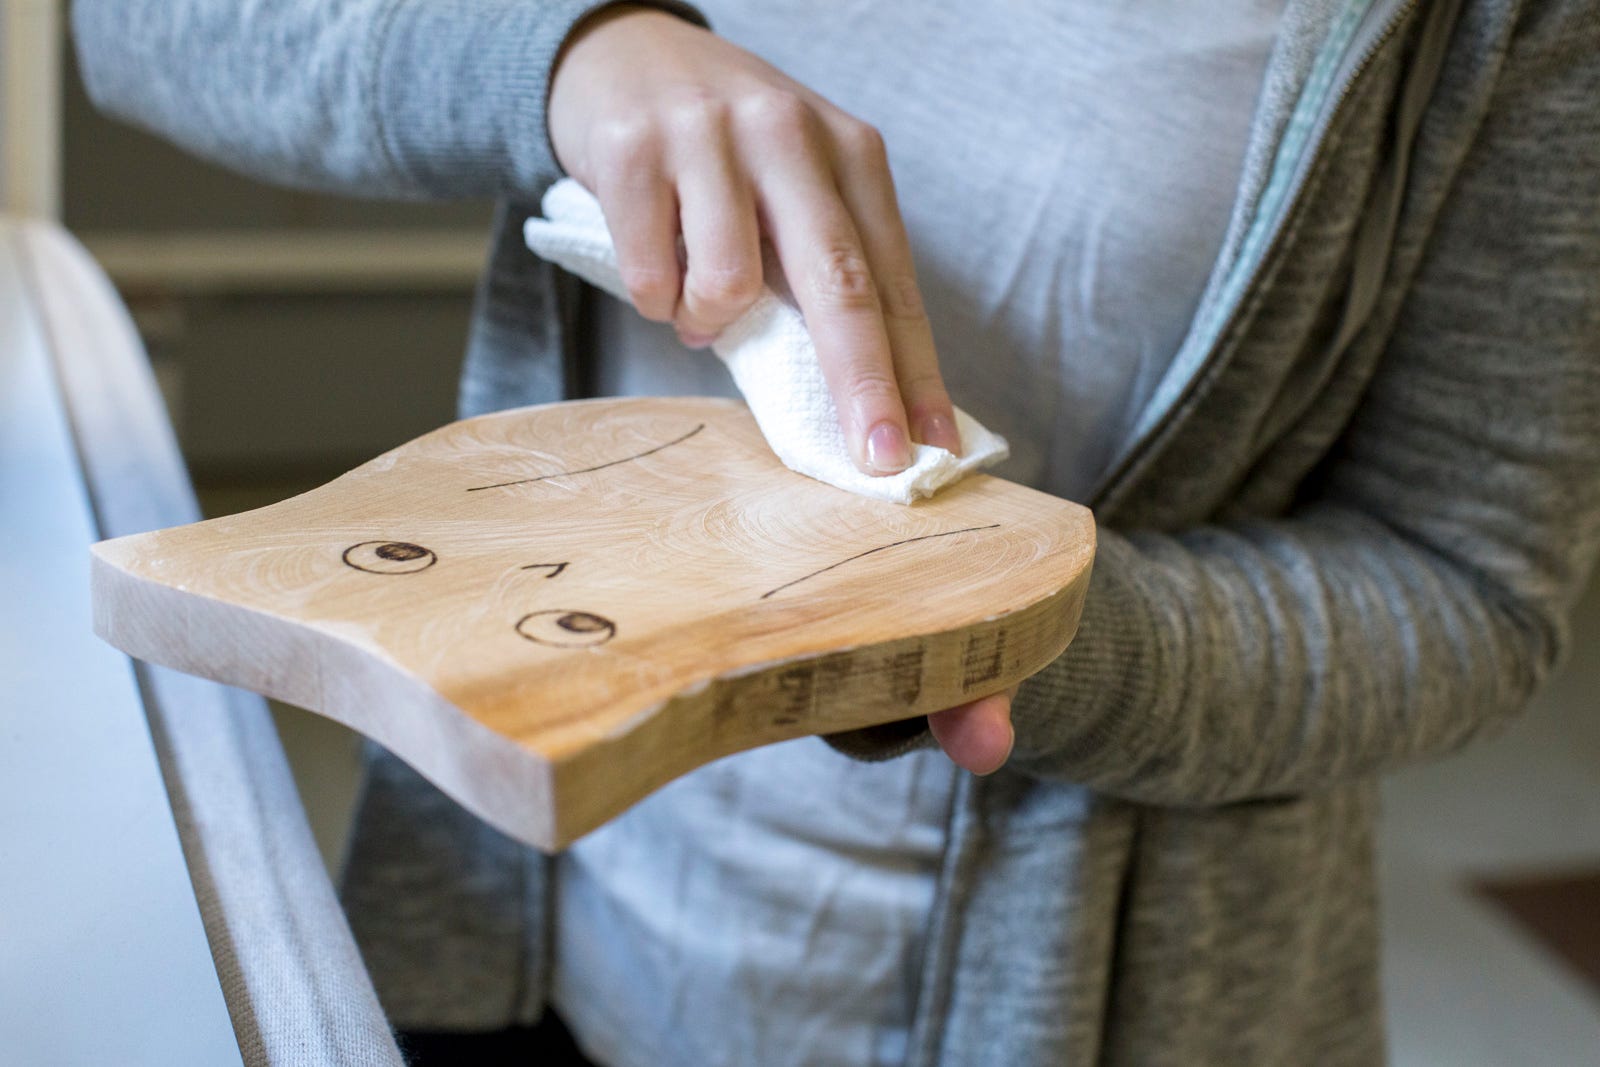
Apply a coat of Daly’s Kitchen Wood Treatment, or alternatively, use some mineral oil. Both products help protect the wood and are safe for contact with food. Rub on wood treatment generously with a lint-free cloth or paper towel, and let it sit for several minutes before wiping off the excess. For the best results, reapply this treatment frequently, especially when your cutting board begins to look dry.
Step 8
Now, it's time to get chopping!
