



"Back to school is right around the corner, but there are still a few more weeks to take advantage of outdoor summertime activities. This PVC pipe bow and arrow is cheap, simple, and fun! It's also great practice for little hands and fine motor skills!"
Materials
At a glance
Now that the weather is warming up, try your hand at this DIY bow-and-arrow set using a few inexpensive materials. From the PVC pipe bow to the homemade arrow with an eraser tip, it's a safer toy that promises hours of play—and it's a great project to build with kids!
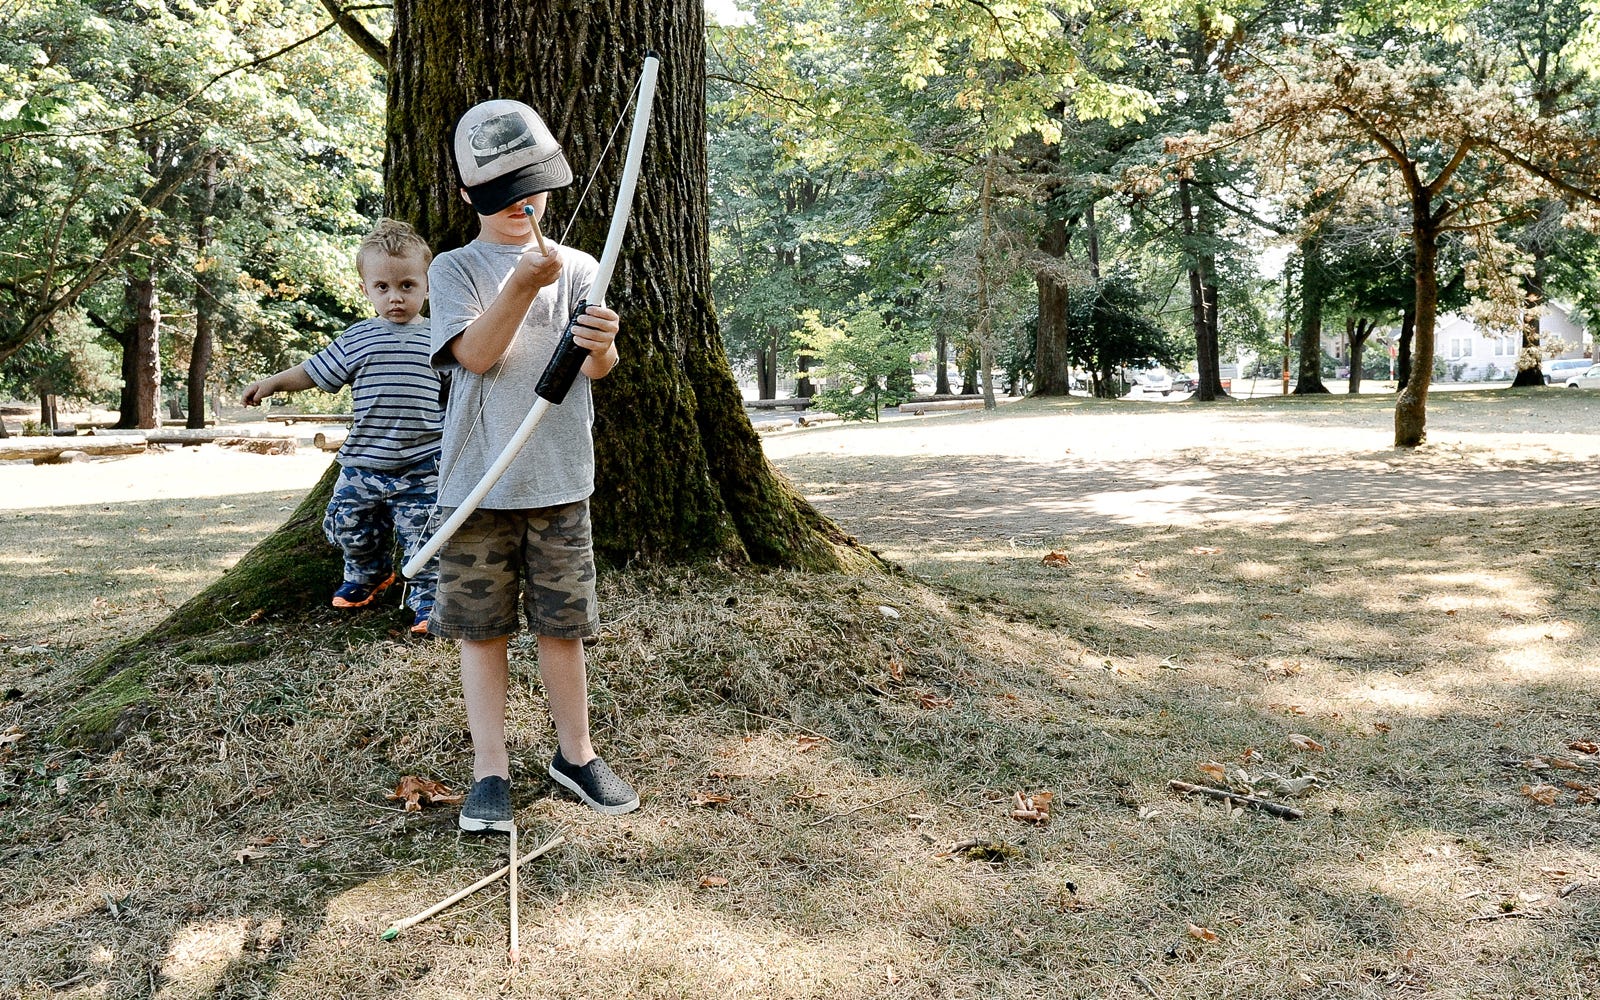
This project was inspired by Nothing But Country’s blog.
Step 1: Gather materials
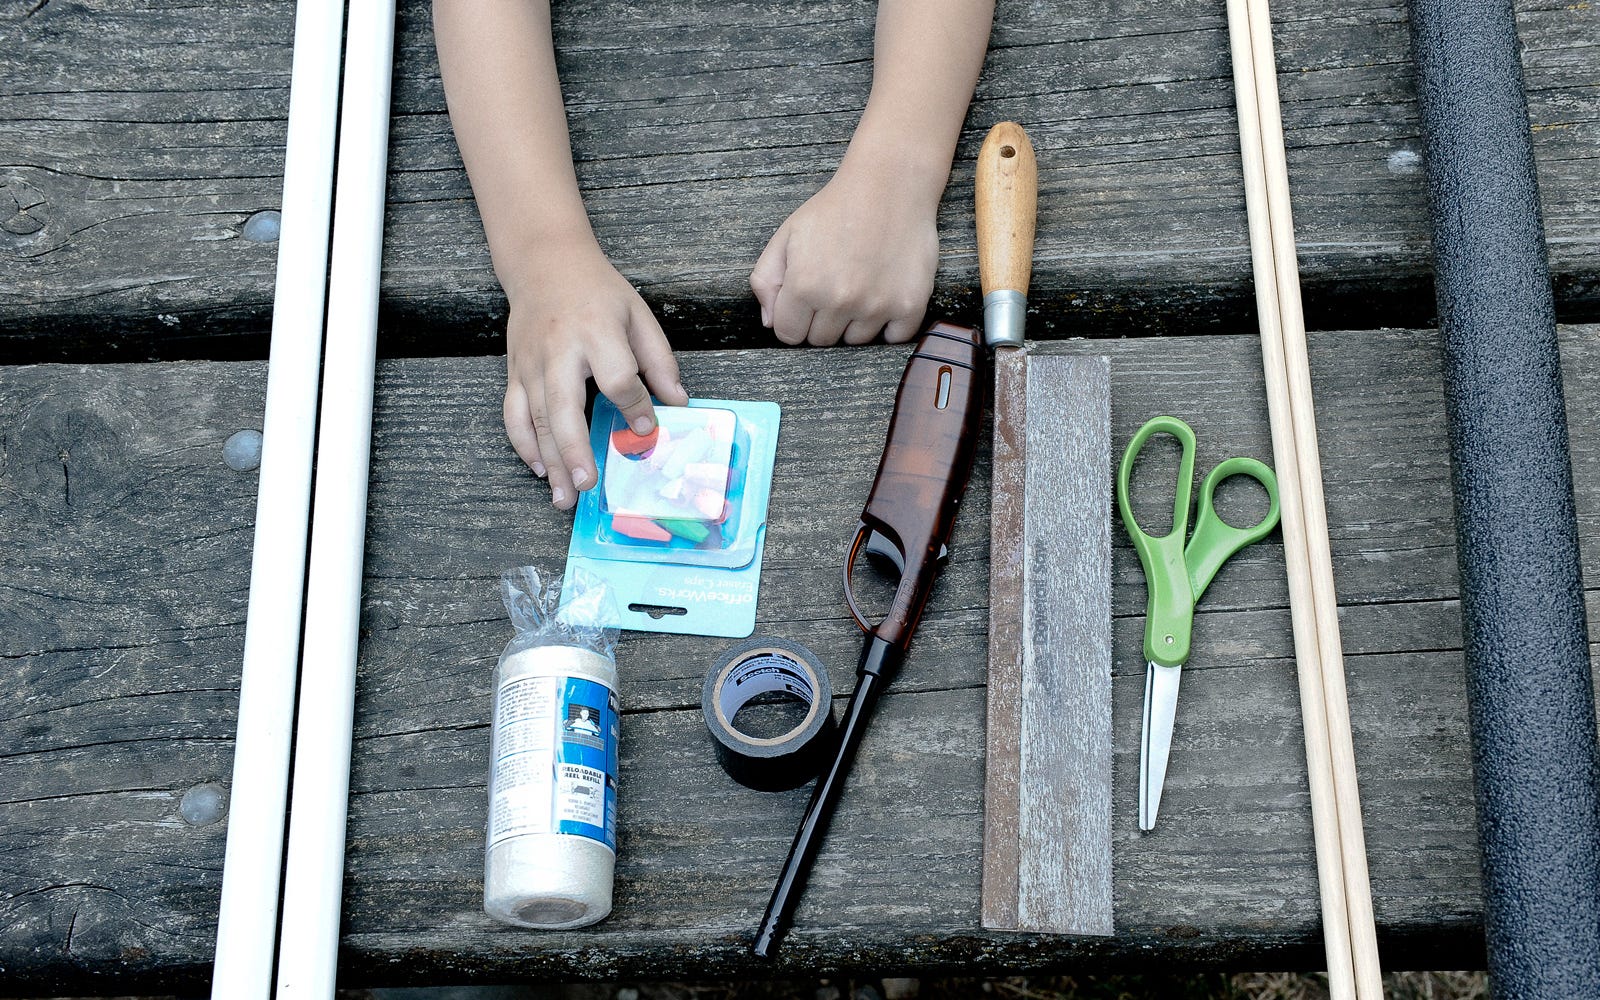
Gather your materials. This project is for children, but there are steps that require adult help and supervision, particularly the steps that require the saw, scissors, and lighter. (Remember to read our post on DIY safety basics, too!)
Step 2: Cut PVC ends
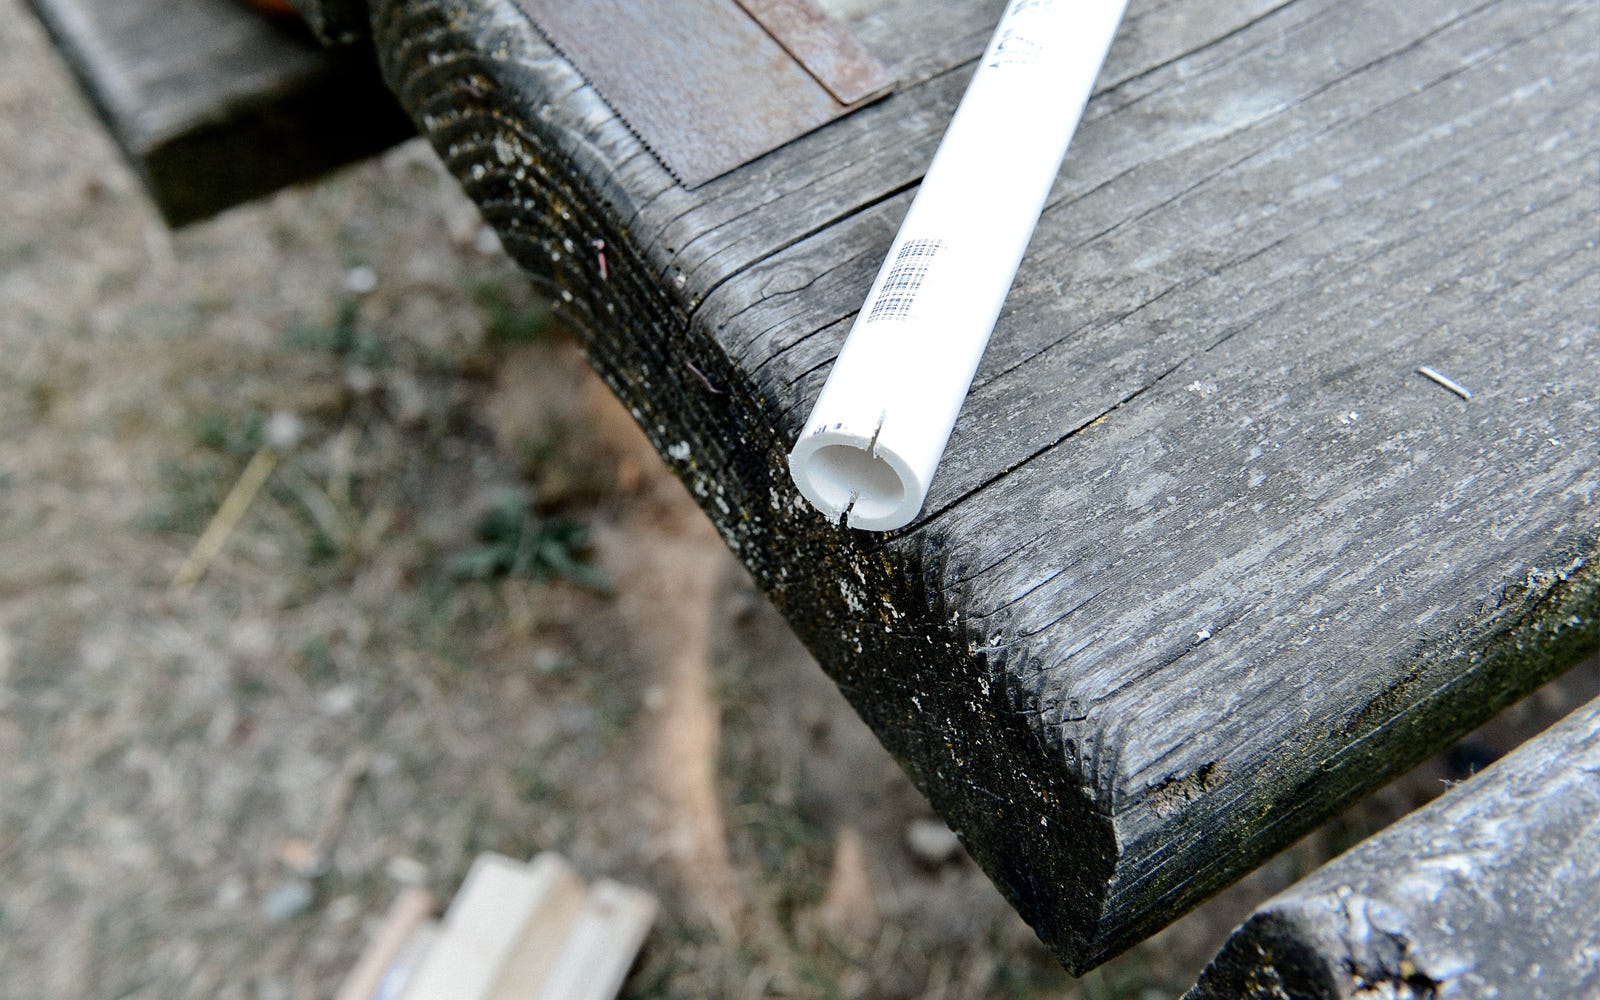
With your hacksaw, cut into the end of the PVC about half an inch. Repeat on other end.

Step 3: Tie knot in string
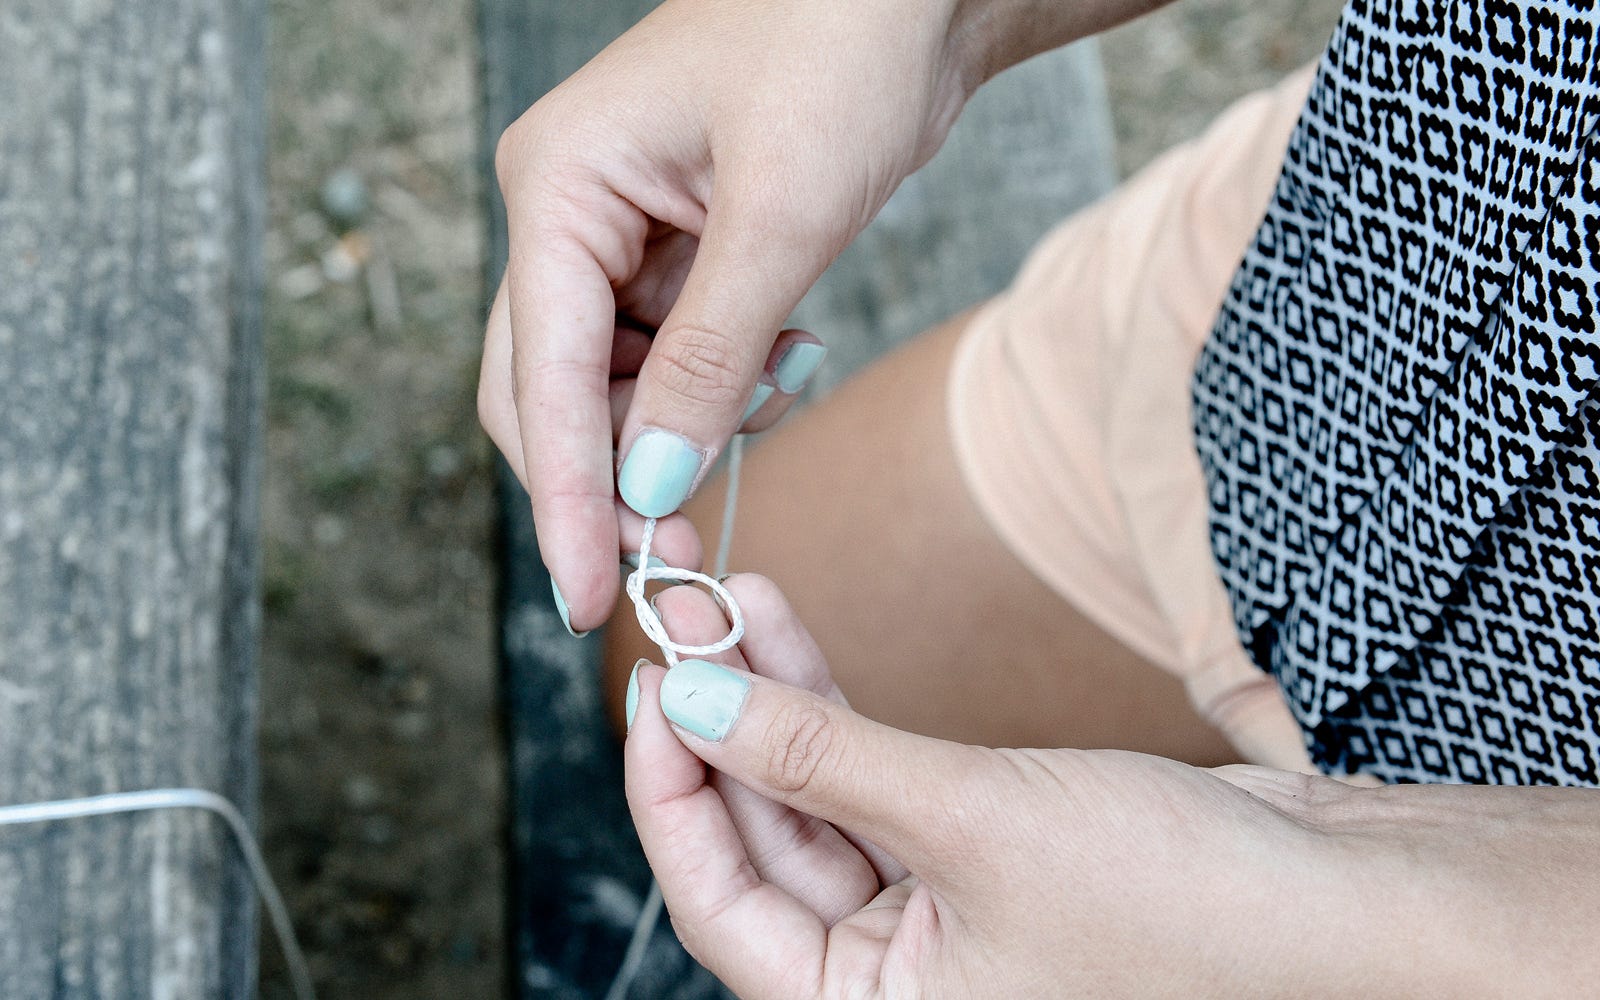
Tie a knot (big enough to not slip through the slot in the pipe) in the end of the nylon string. Using your lighter, burn the ends of the string to prevent fraying.
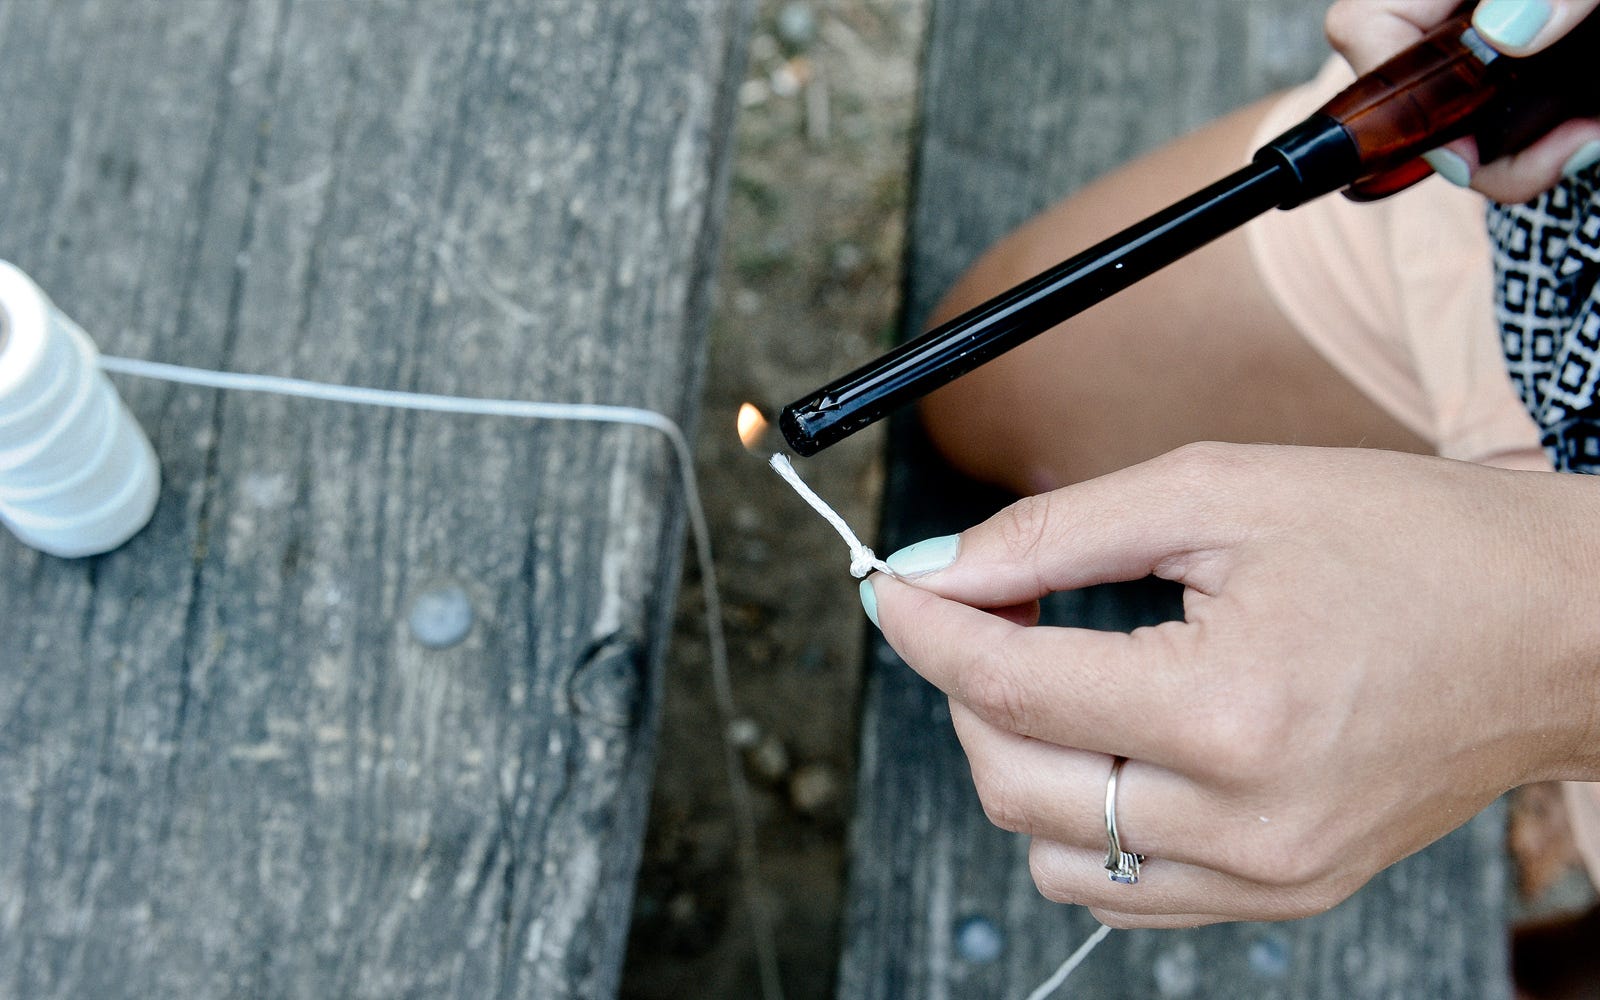
Step 4: Cut string and tie second knot; slide into PVC
Cut your string at about 36” (or 5" to 6" inches from the end) and tie another knot. Slide the knot inside the slot at one end of the PVC.
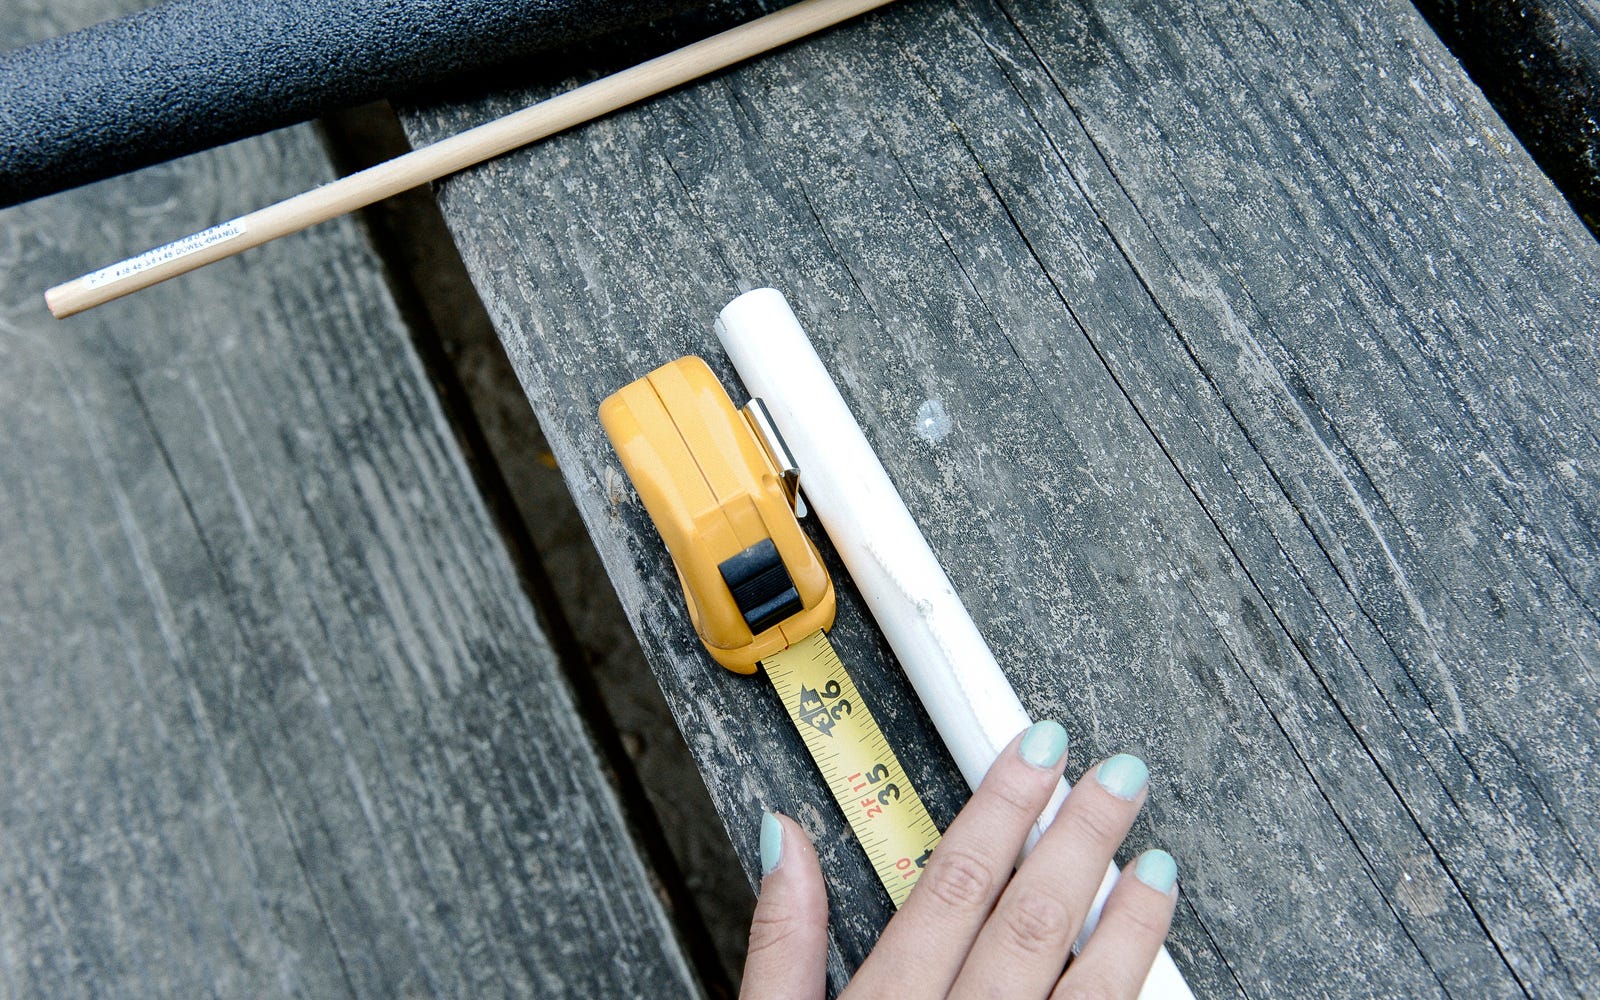
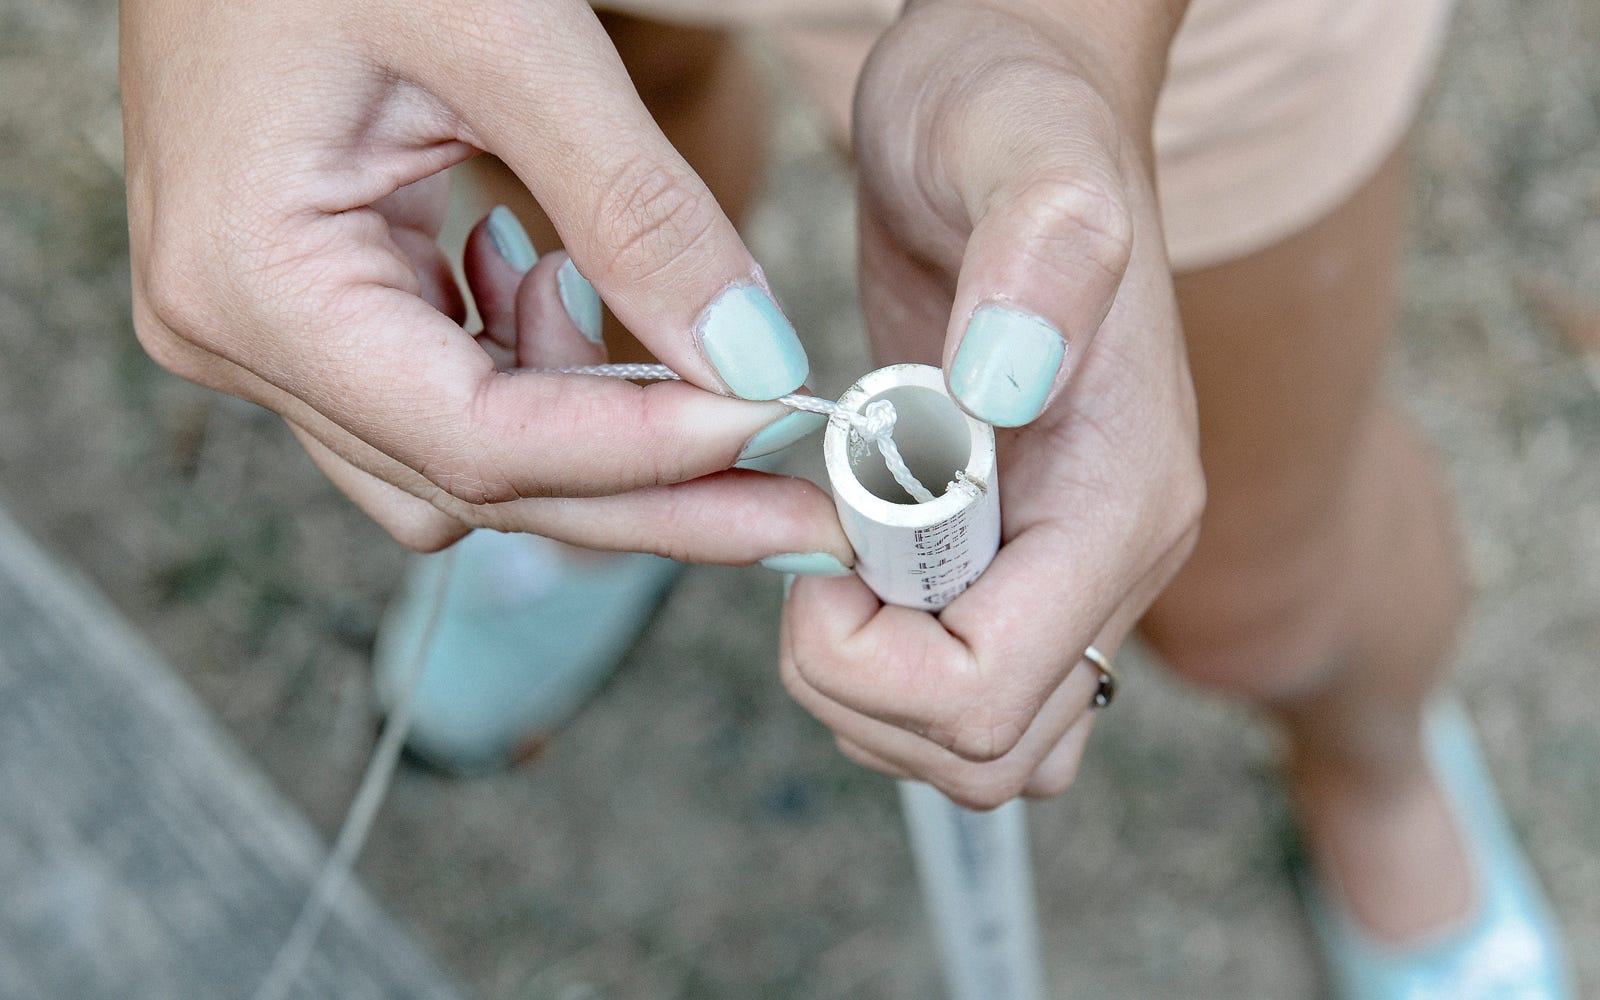
Step 5: Bend PVC to hold other knot
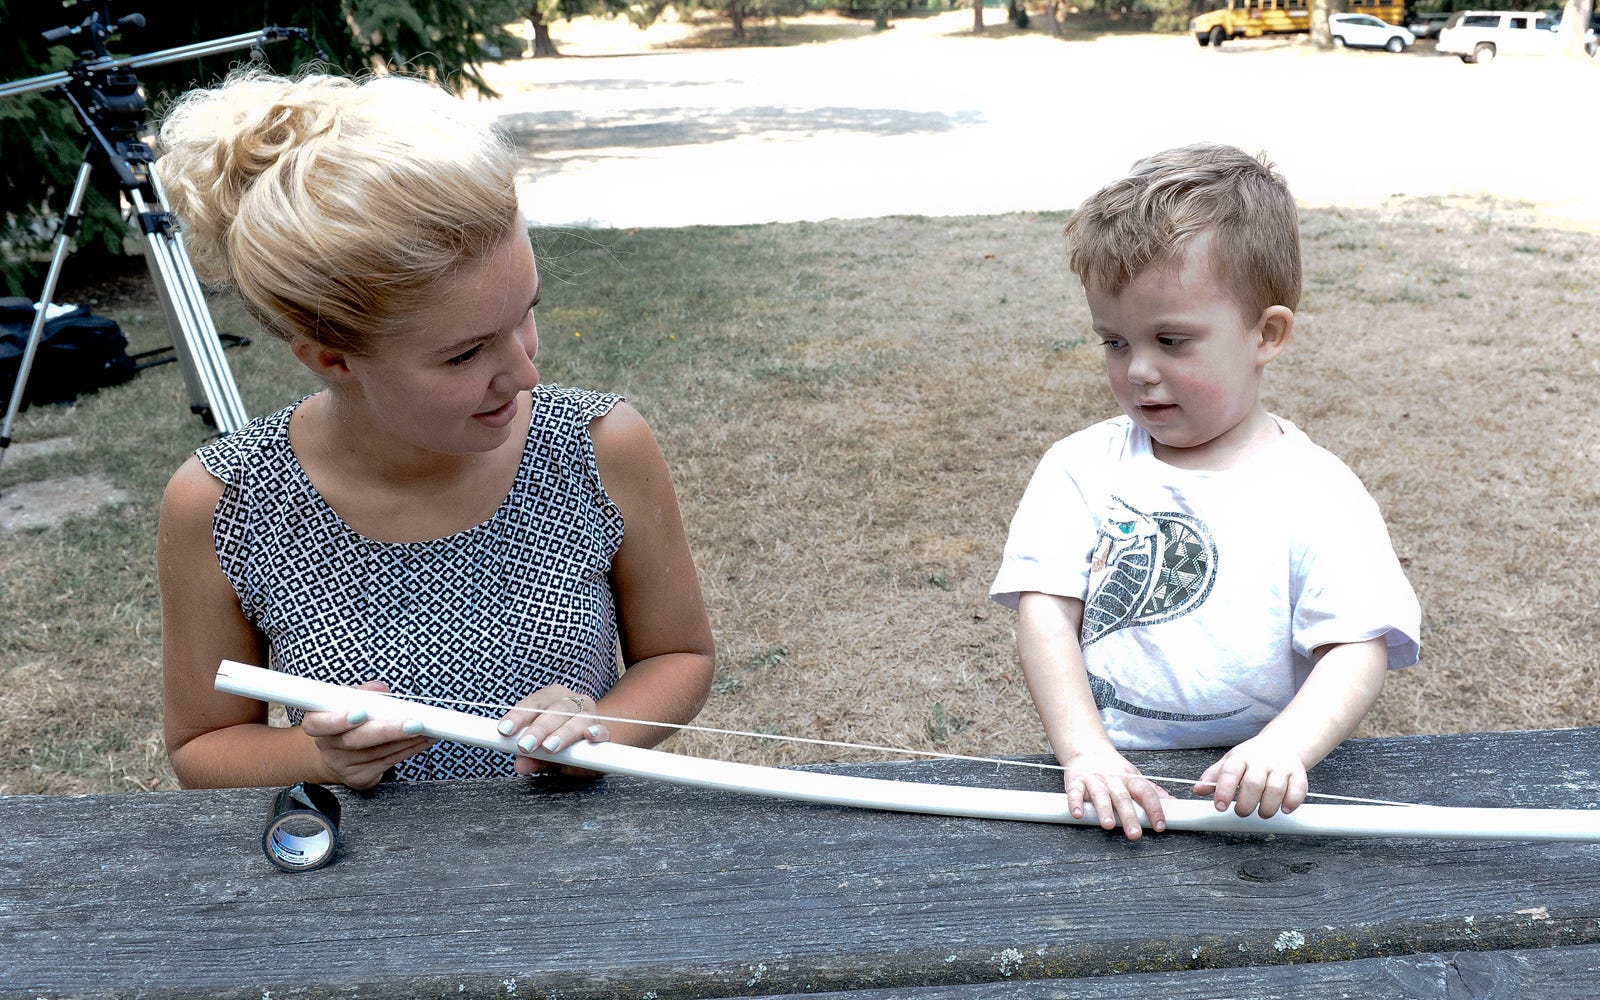
Bending the PVC with your foot slide the other knot into the opposite end of the pipe. If your PVC does not bend to the arc desired, slip out the knot, tie it a little closer, and try again.
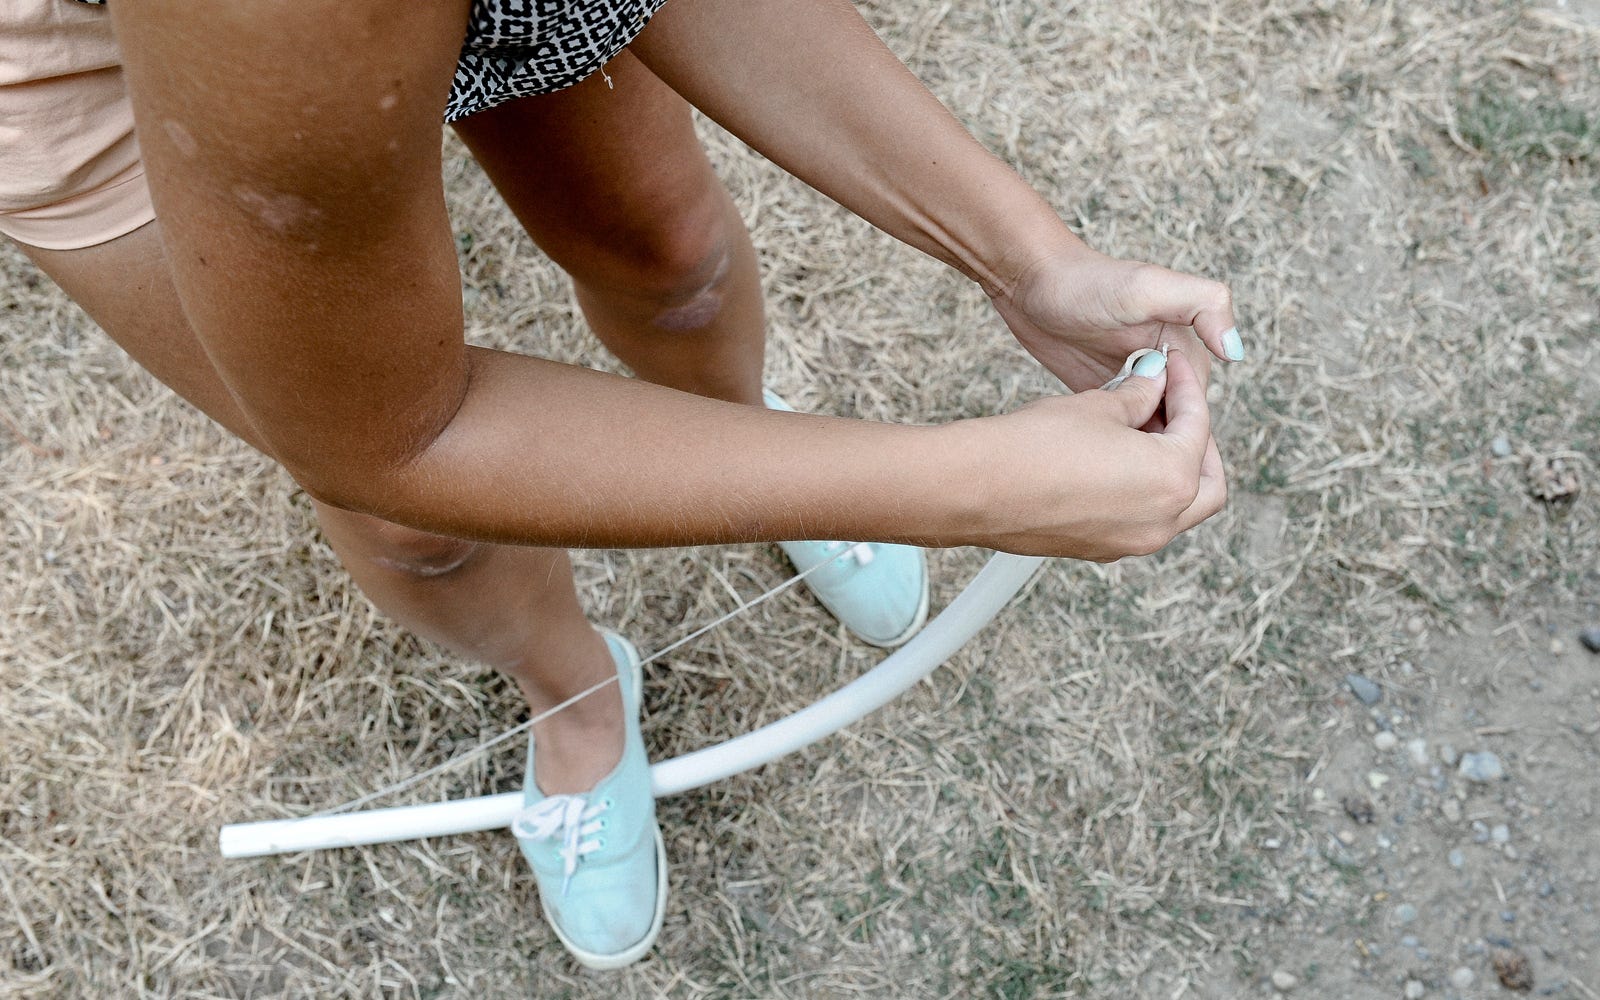
Step 6: Wrap tape to secure string
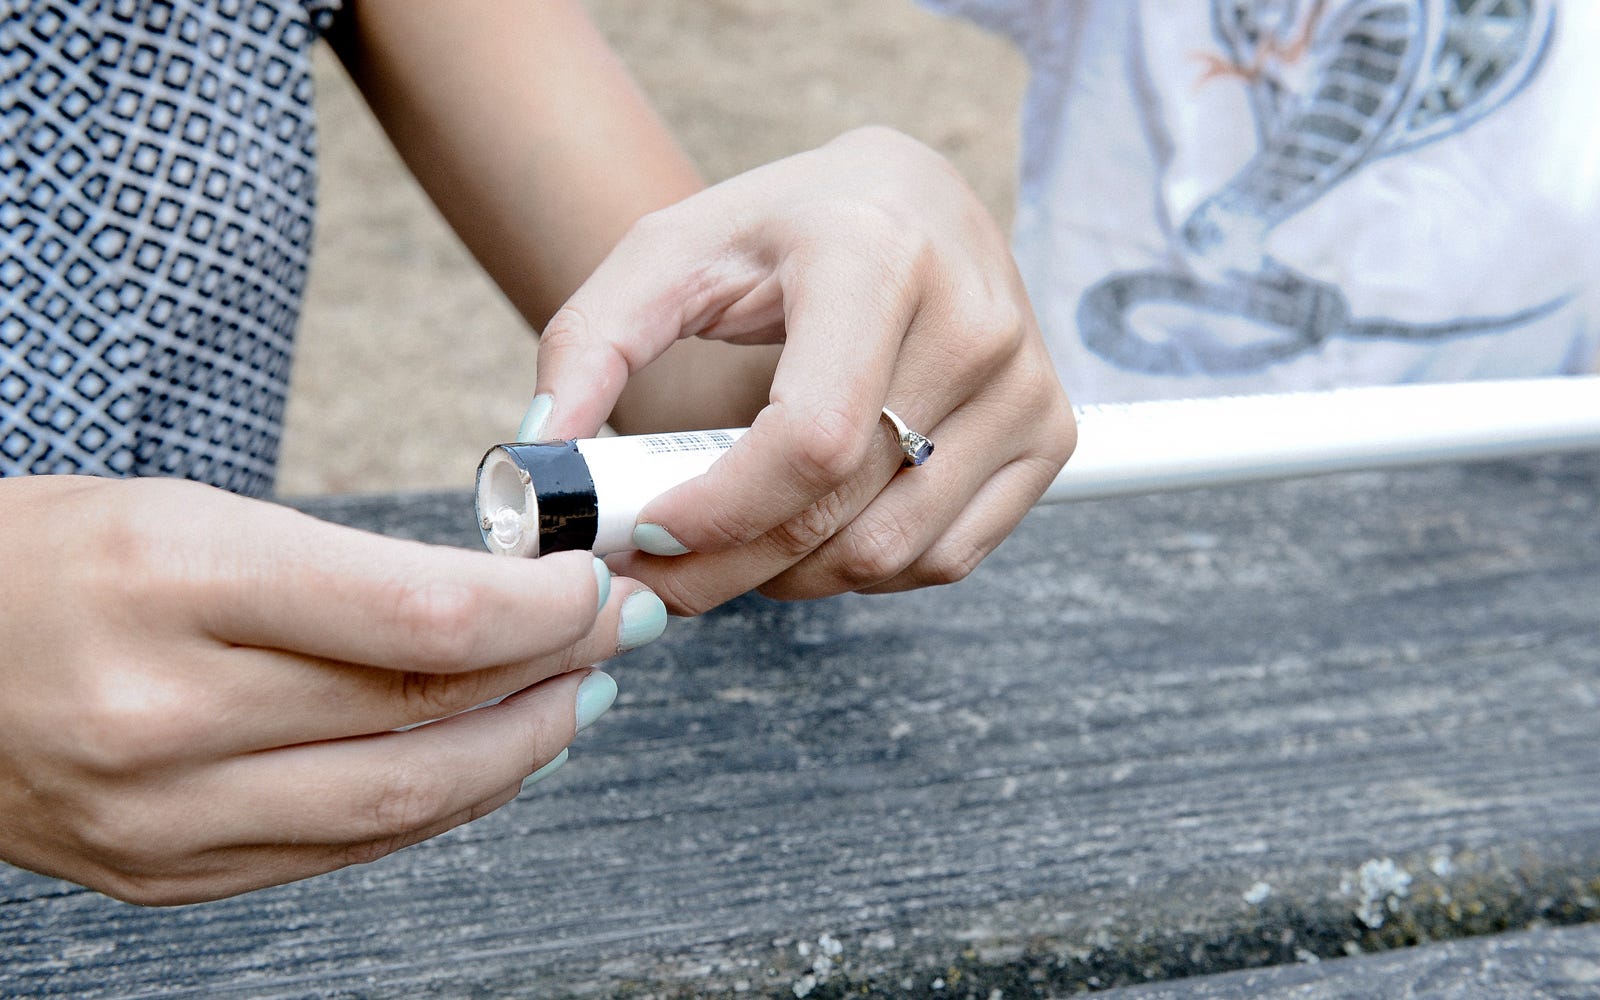
Rip off a thin strip of tape and wrap it around the top and bottom of your bow to secure the string in place. You’re almost done!
Step 7: Cut, wrap, and secure foam
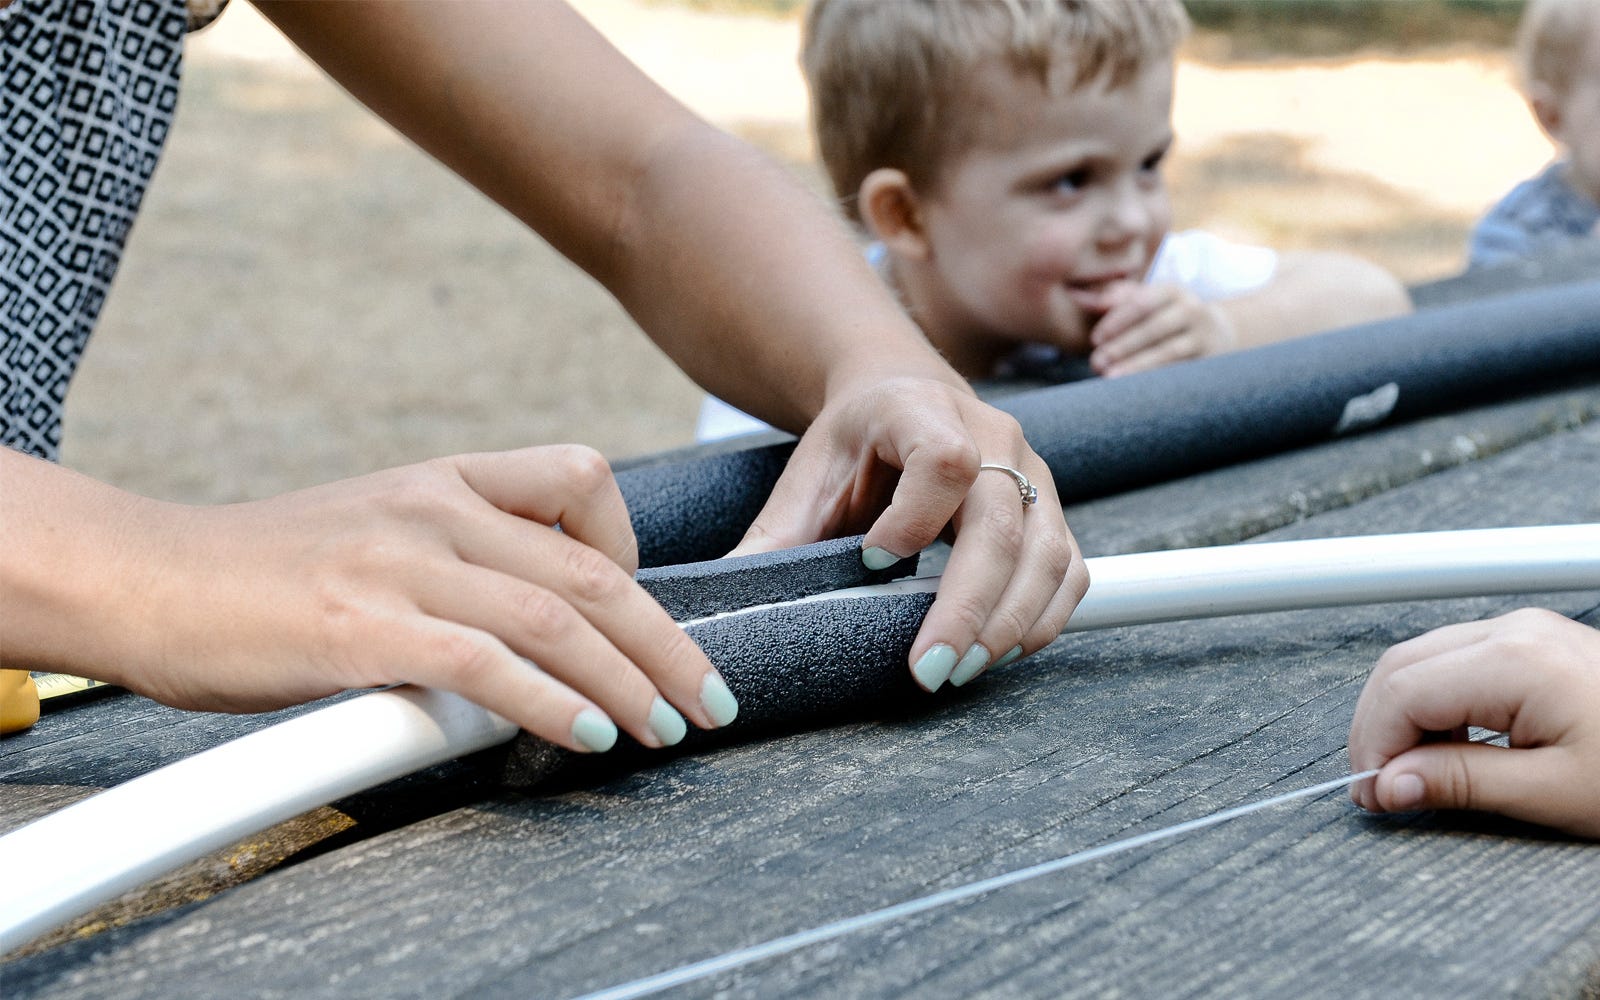
Cut the foam pipe insulation to a length of six inches with a pair of scissors. There’s a part running along one side of the insulation. Rip the part open and wrap the insulation around the middle of the bow. Secure with duct tape.
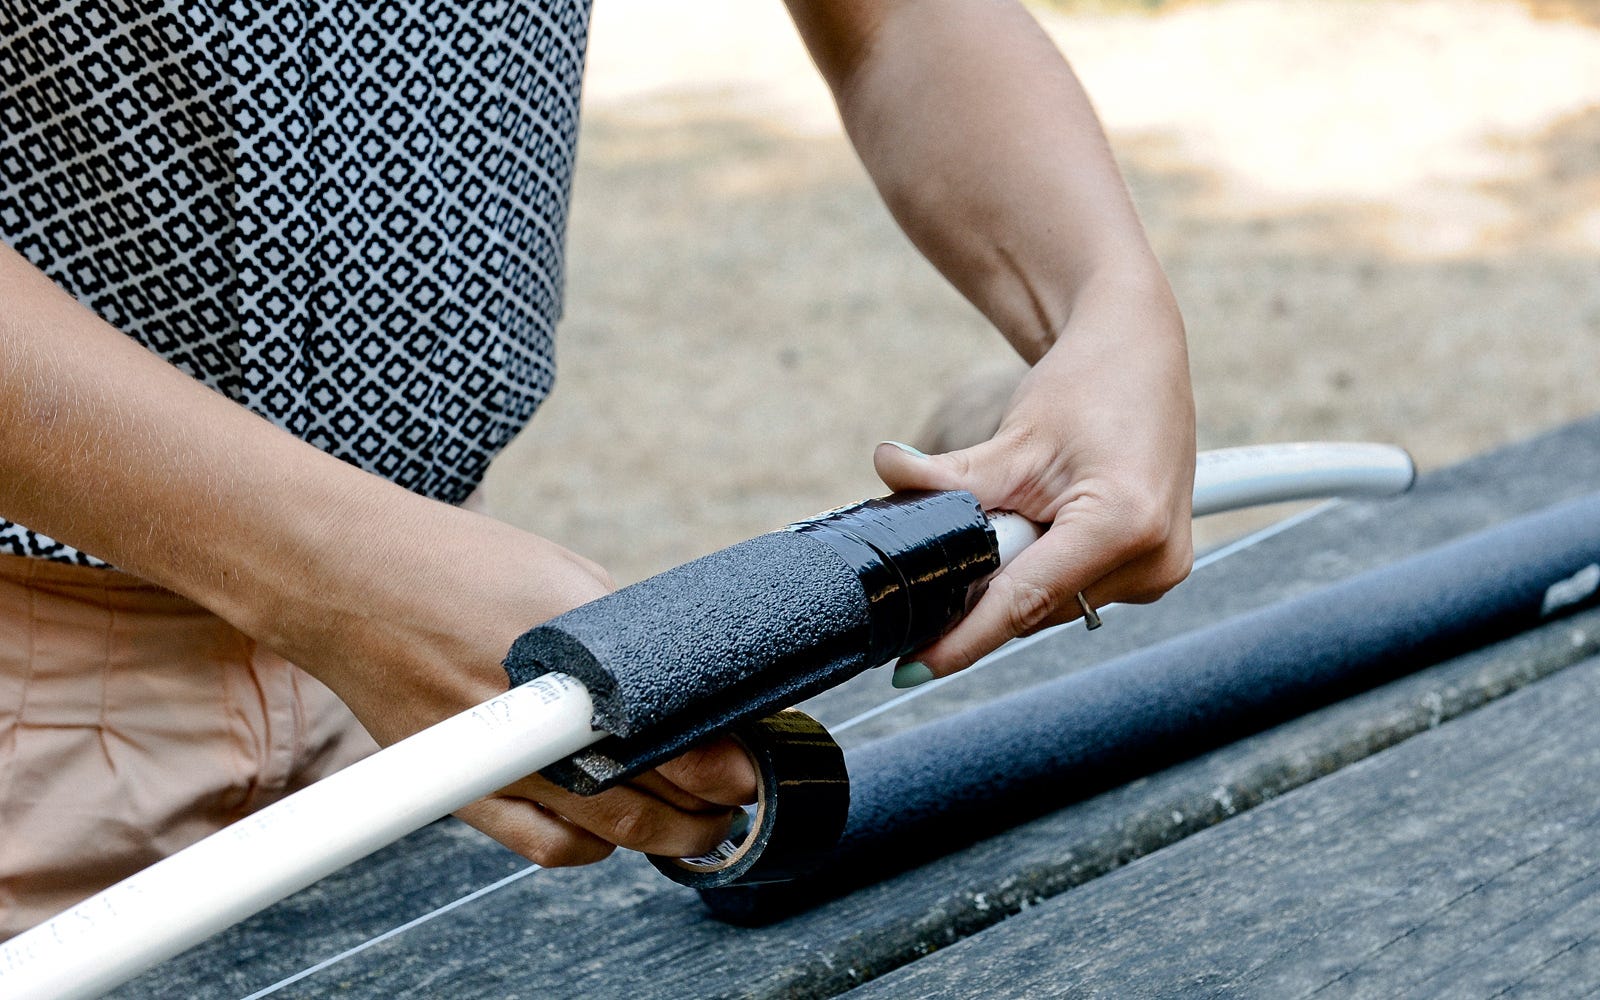
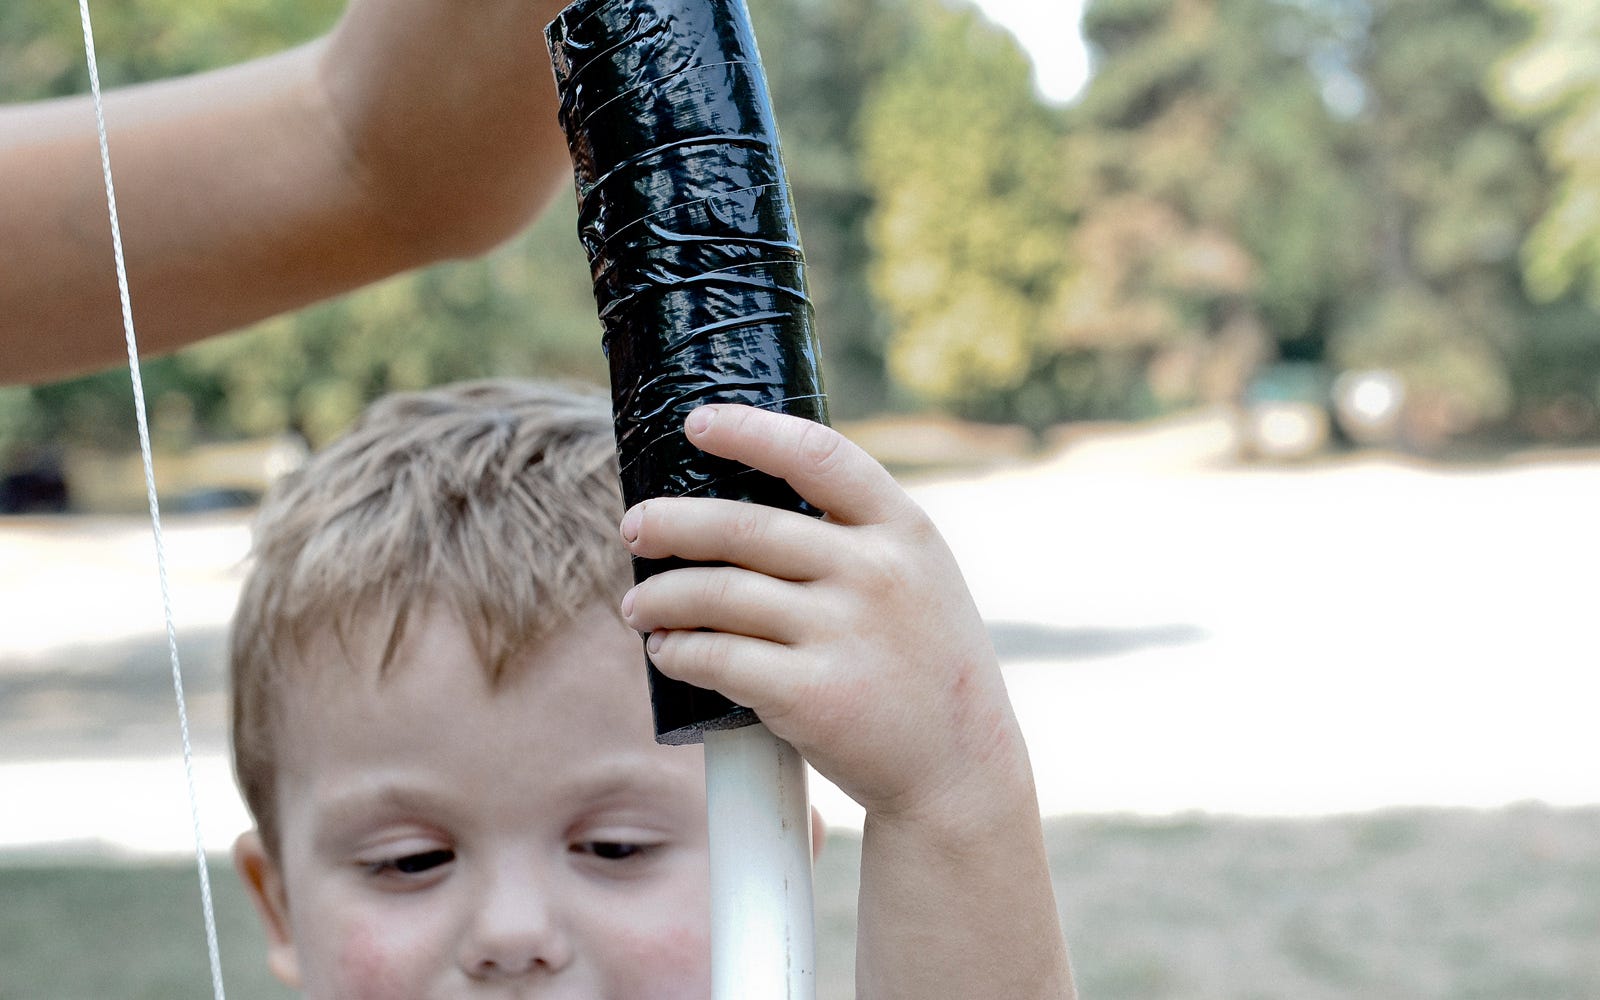
The bow is complete! Now for the arrows....
Step 8: Cut dowel
Cut your dowel into 16” pieces with the hacksaw.
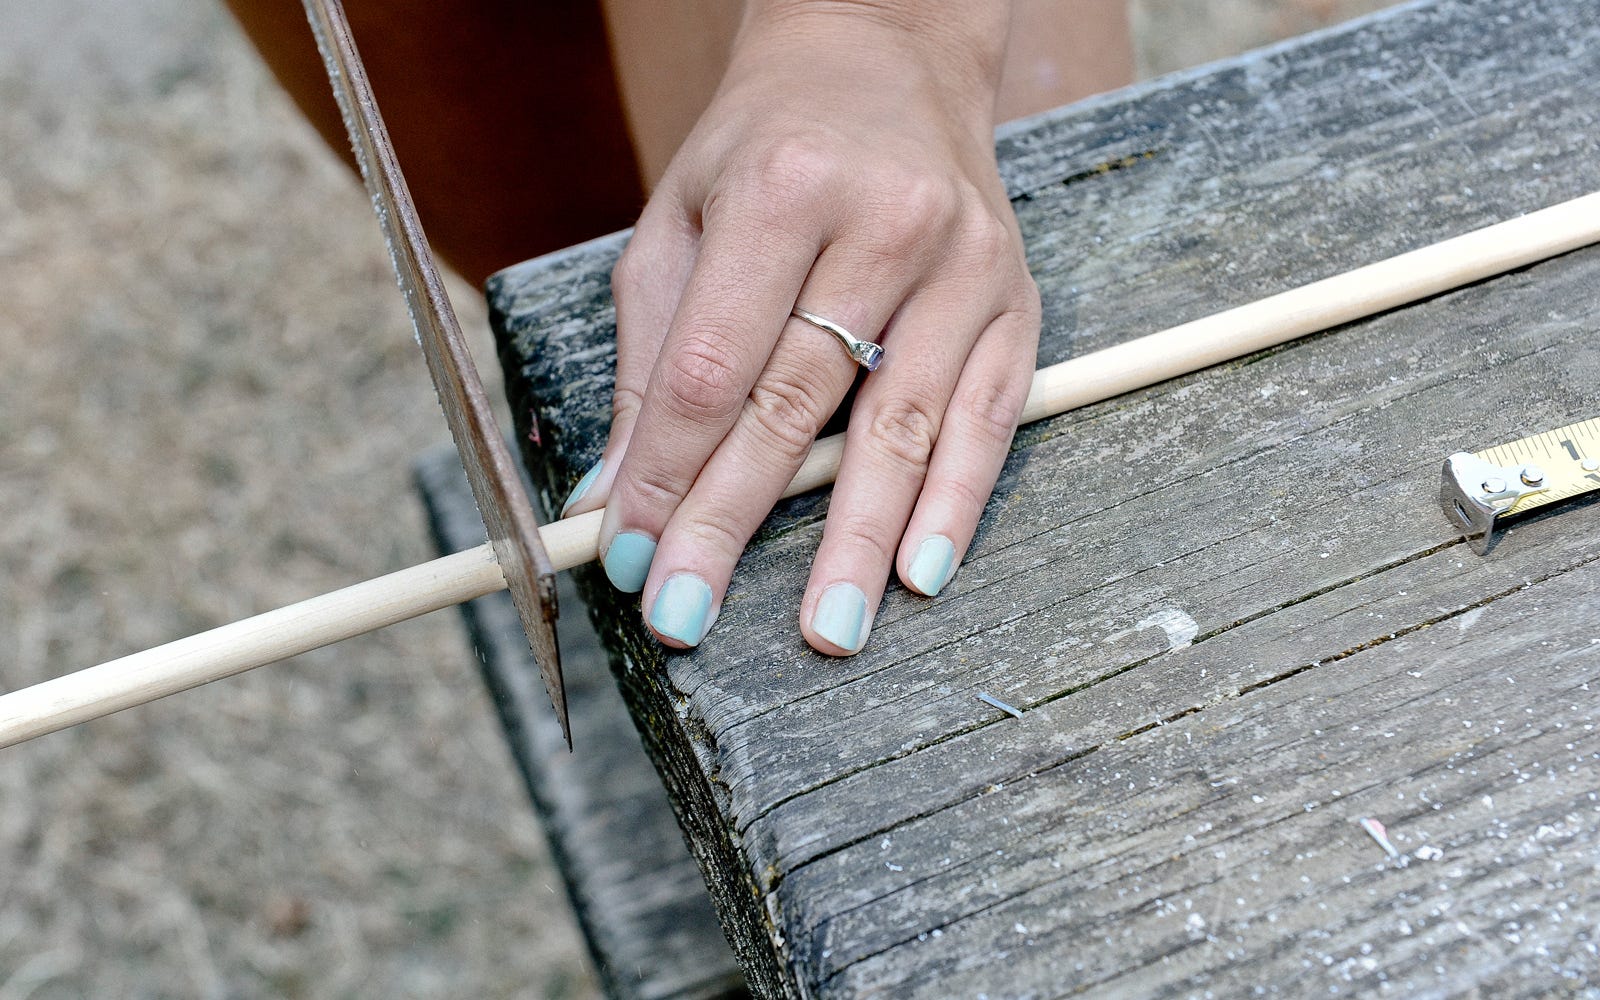
Step 9: Cut shallow notch in dowel tip
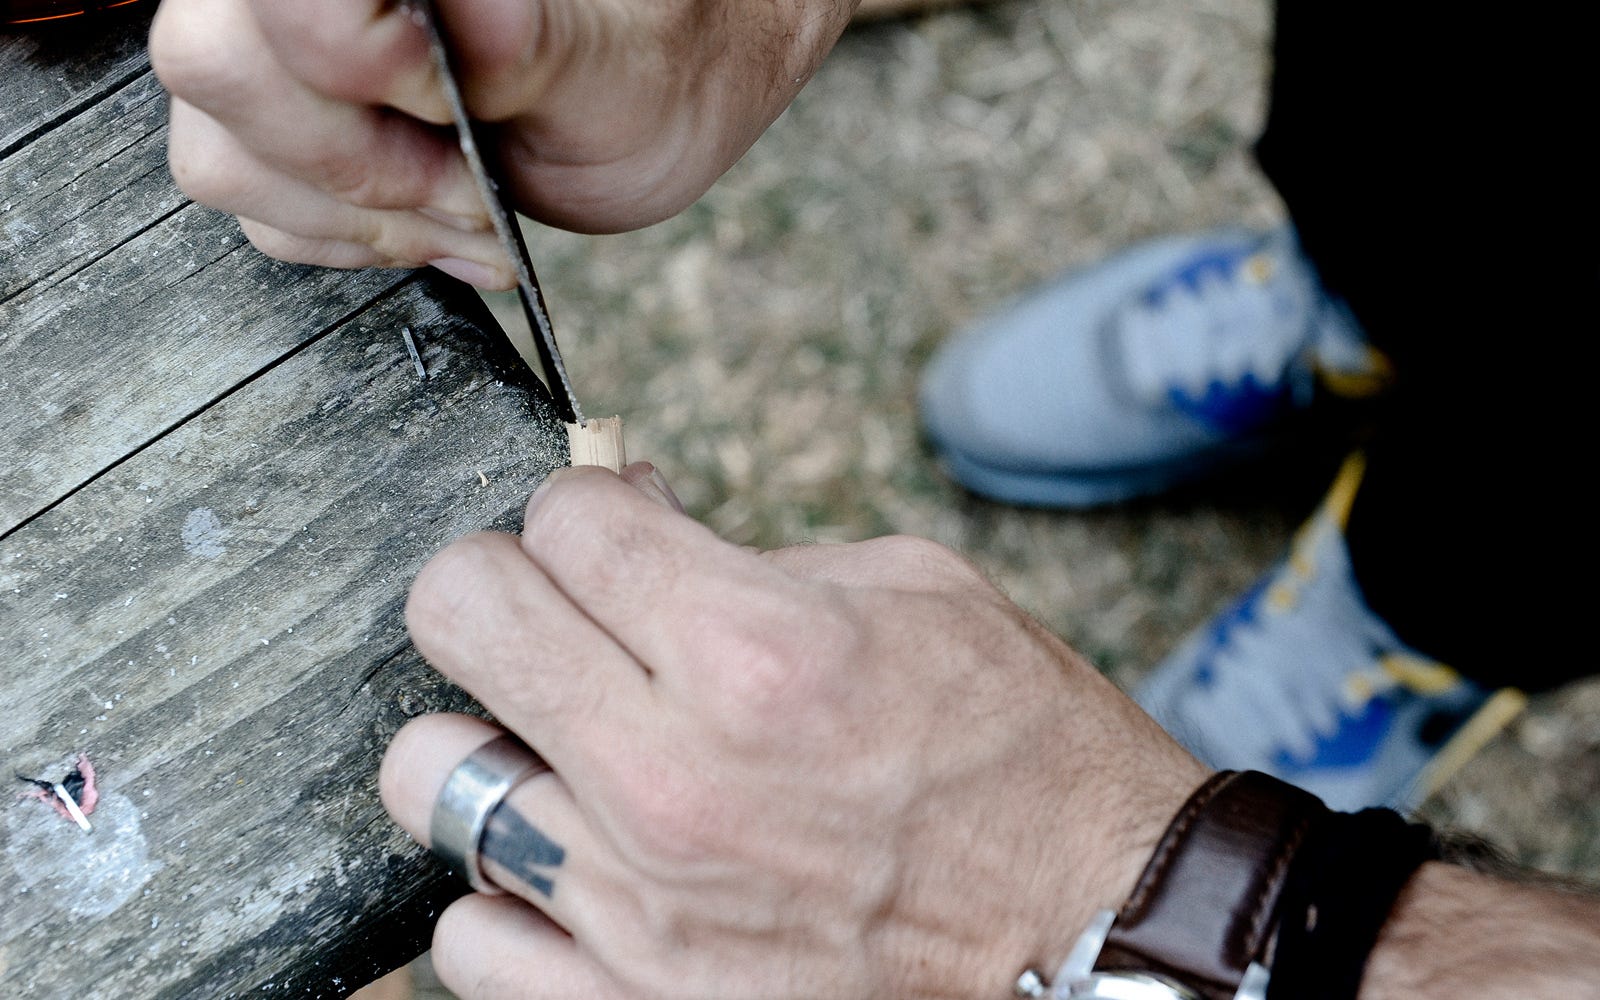
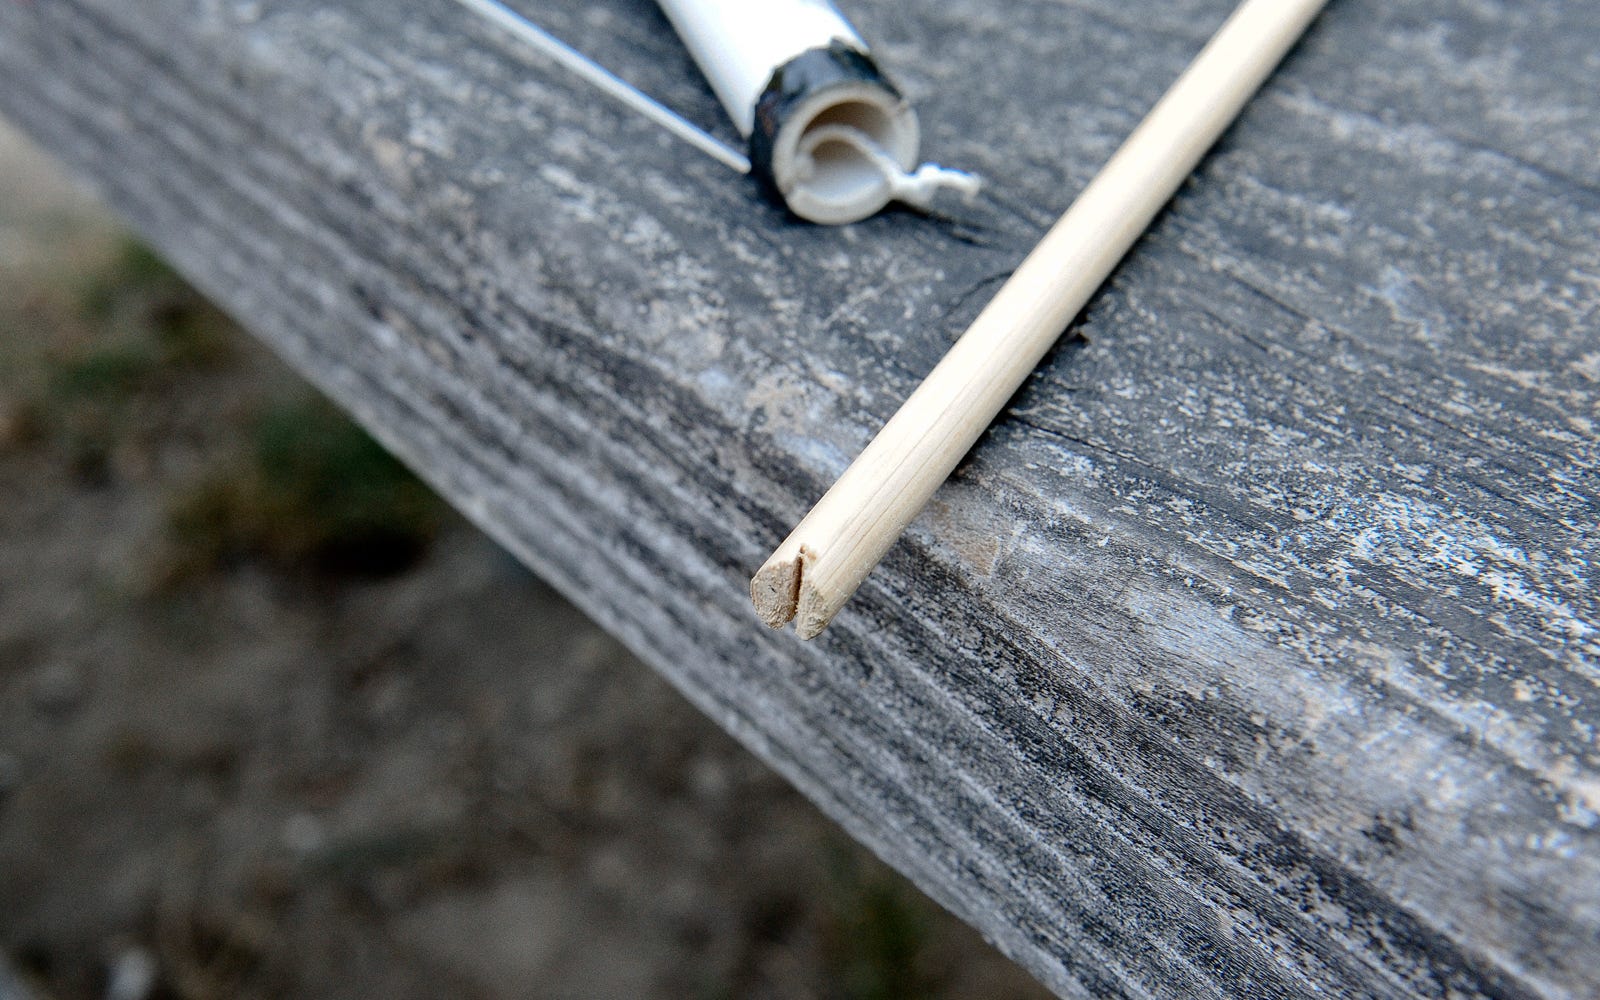
In one end cut a shallow groove for where it connects with the string on the bow.
Step 10: Fit eraser cap on dowel
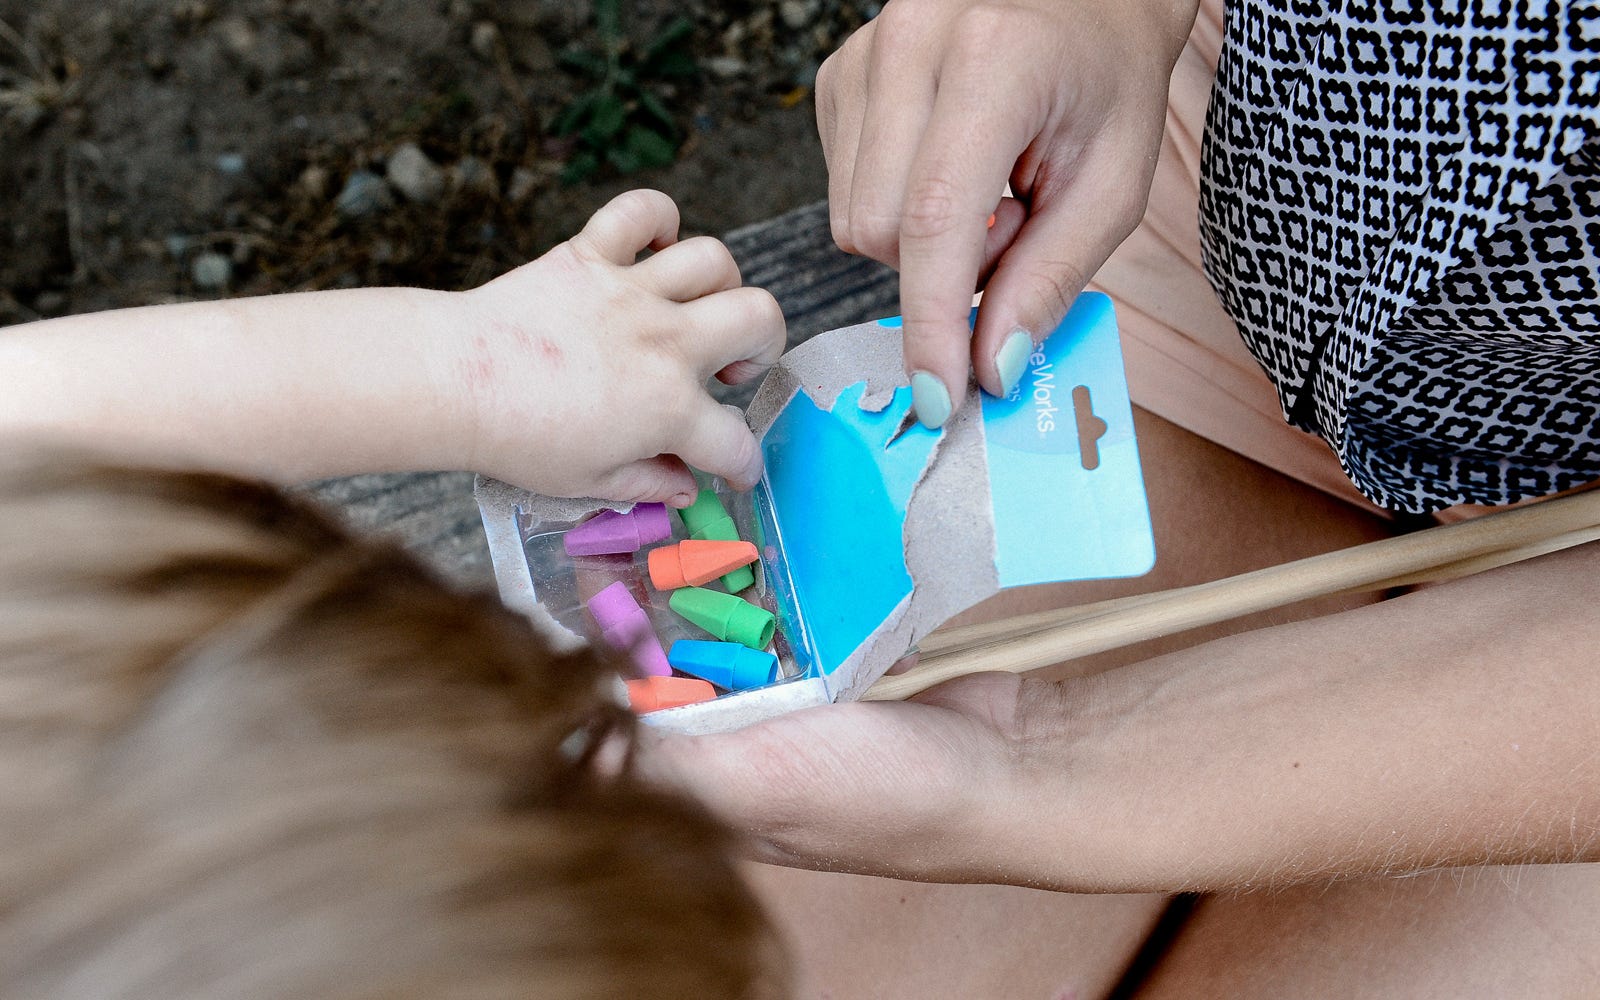
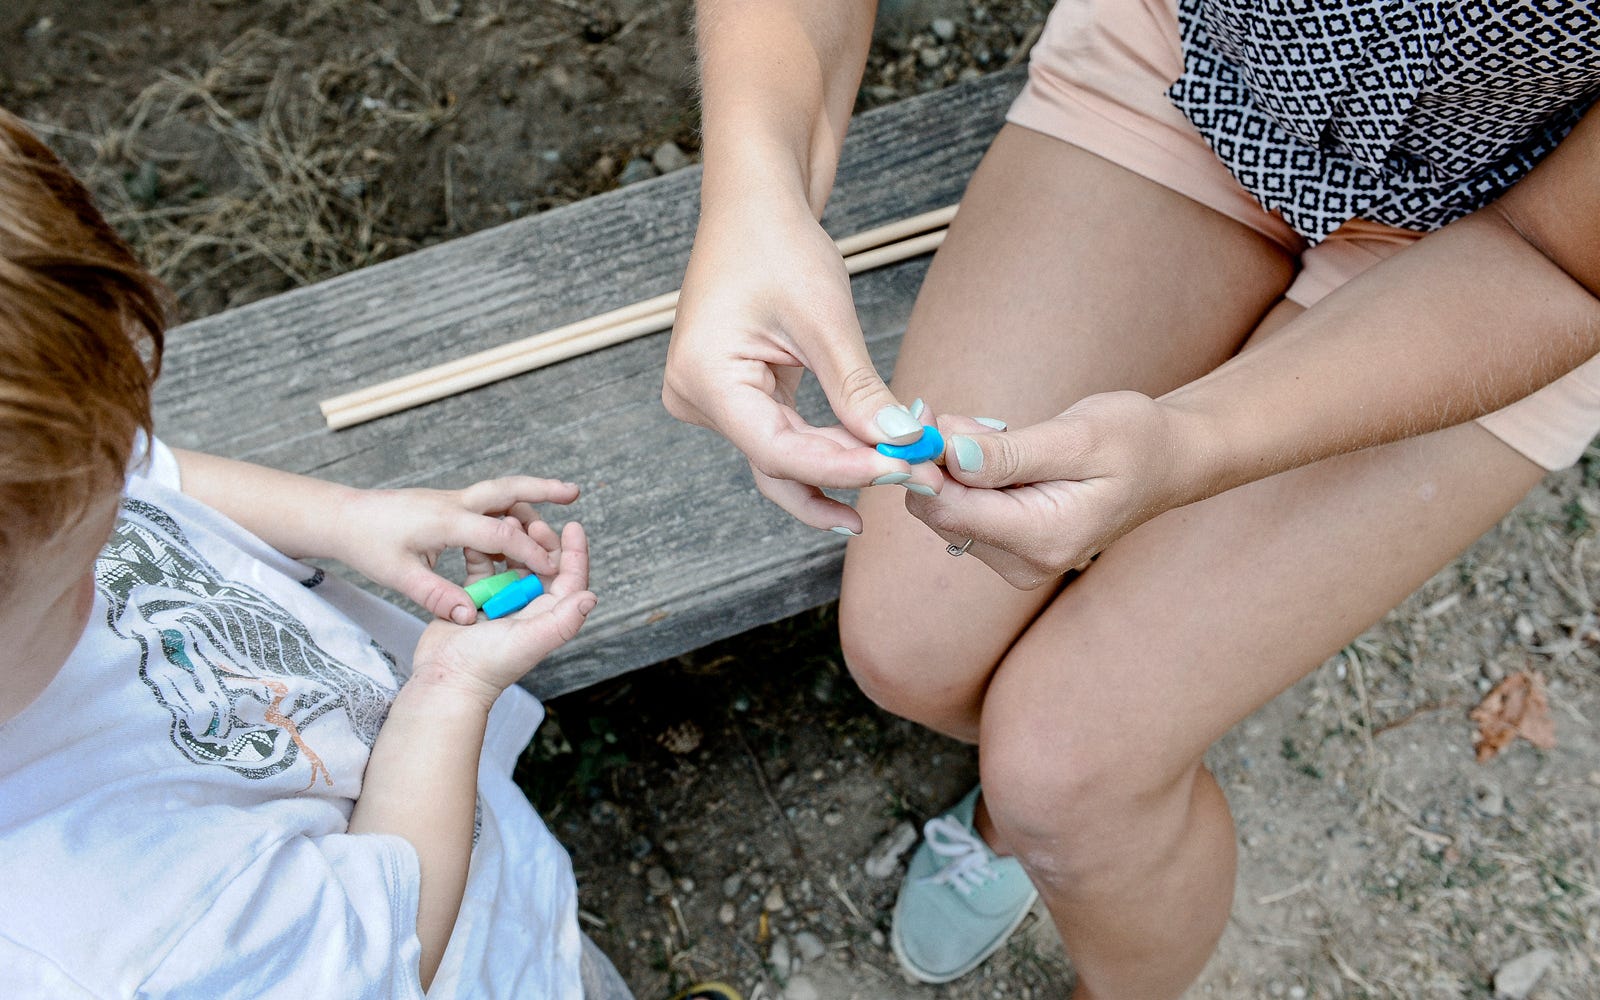
On the other end put an eraser cap. This will take a little bit of wiggling, but trust me, it will fit. And there you have three rubber-tipped arrows!
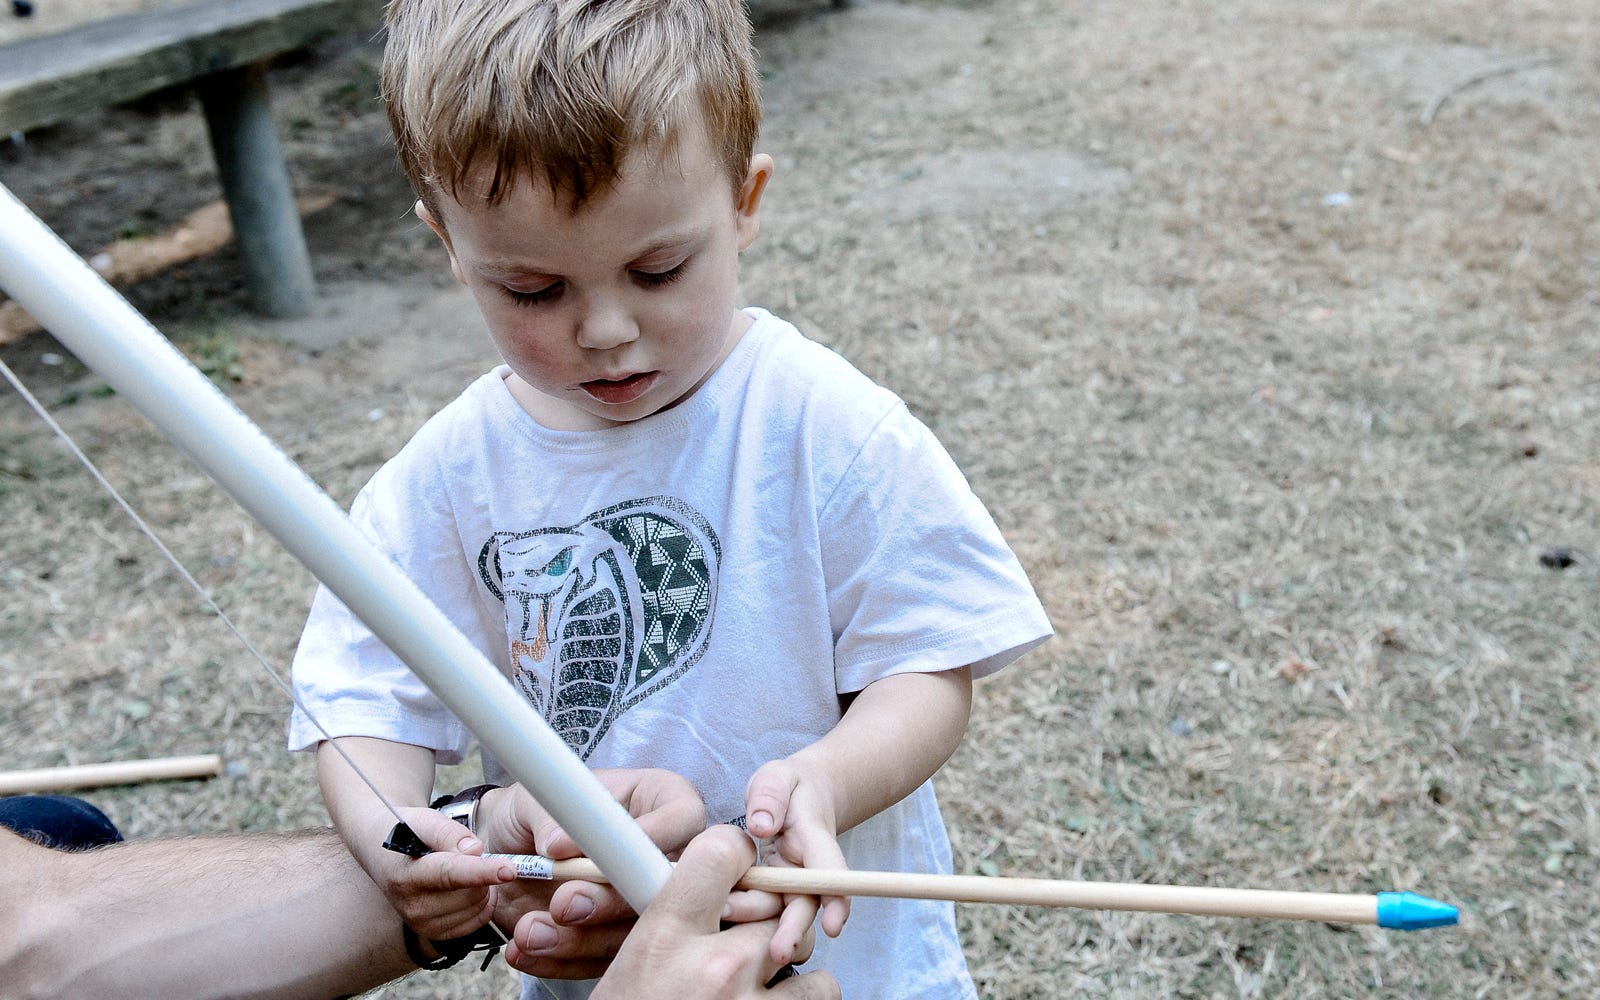
Because our helpers are only three and six, we helped them out by taping a little indicator for where the back of the arrow should fit into the string.